Recent Posts
I thought I would blog about a question we’ve been receiving calls about on a daily basis lately. That question is, “where to buy travertine pavers”. I’m sure you can imagine why we’re not chomping at the bit to share our sources – at least not in areas we install travertine. If you’ve done your research then I’m sure you’re aware there is a substantial difference between the different quality grades of travertine. The higher grades are RARELY sold through online suppliers as these suppliers know that people buy from them because they have the cheapest prices. In order to have the cheapest prices, you typically don’t have the best quality – at least in the natural stone world. This makes it very difficult to find high quality travertine in areas like Ohio, Illinois, Michigan, Missouri, Texas, etc. Basically, most of the US.
We’re offering travertine installation in South Carolina, Tennessee, Kentucky and North Carolina during the months of December, January and February.
It’s taken us some time to search out and find the best sources for turkish travertine pavers. It’s certainly not the cheapest, but definitely among the highest quality travertine you’ll find anywhere in the states. This being said, we’re very hesitant to give out our sources to anyone located within our working area. If you’re located outside of the Dayton, Cincinnati and Columbus, Ohio vicinity we would be happy to help you buy travertine through our sources, however, we currently don’t have the capability to assist via telephone which is why I’m doing this in an attempt to cut back on the calls.
Here’s what we’re willing to do. So that we can verify that you’re not located in our region, please give us your contact information below and we’ll reply with our suppliers information.
Our supplier is willing to direct ship to the following areas: Chicago IL and most of Illinois, Detroit MI and most of Michigan, Toledo OH, Cleveland OH, St Louis MO and most of Missouri, Indianapolis IN and most of Indiana, Milwaukee WI and most of Wisconsin, Minneapolis MN and most of Minnesota, Wichita KS and most of Kansas, Louisville KY and most of Kentucky, Charleston WV and most of West Virginia, Pittsburgh PA and most of Pennsylvania, Baltimore MD and most of Maryland, Charlotte NC and most of North Carolina, Columbia SC and most of South Carolina, Atlanta GA and most of Georgia, Memphis TN and most of Tennessee, Dallas TX and most of Texas. If you’re city or area isn’t listed, it’s just because our supplier doesn’t have calculated rates for your area. They can still ship to you, they just won’t get as good of a freight rate as the areas listed above.
If you would like to know how to install travertine pavers, click here.
We receive calls on a regular basis asking how to install travertine pavers. There is a lot of controversy floating around the internet about how travertine pavers should be installed in cold climates. Through lot’s of trial and error, we’ve come up with an installation system that has held up great.
Travertine Paver Installation Problems
When we first began installing travertine, we tried to use the same techniques we used to install pavers – gravel base with a sand setting bed. Although this worked ok, we found that over time the sand bed would work its way back up the joints, and although it was in small amounts, it was enough to cause unevenness between each paver. You see, travertine pavers are laid very close together and because they’re so smooth on top, you see every height difference between one paver to the next.
We also noticed that minor heaves in the base would cause unevenness between the pavers over time as well.
There are also some other problems that go along with installing travertine using this method, but I won’t get into them as they only apply to certain types of installations.
The Solution
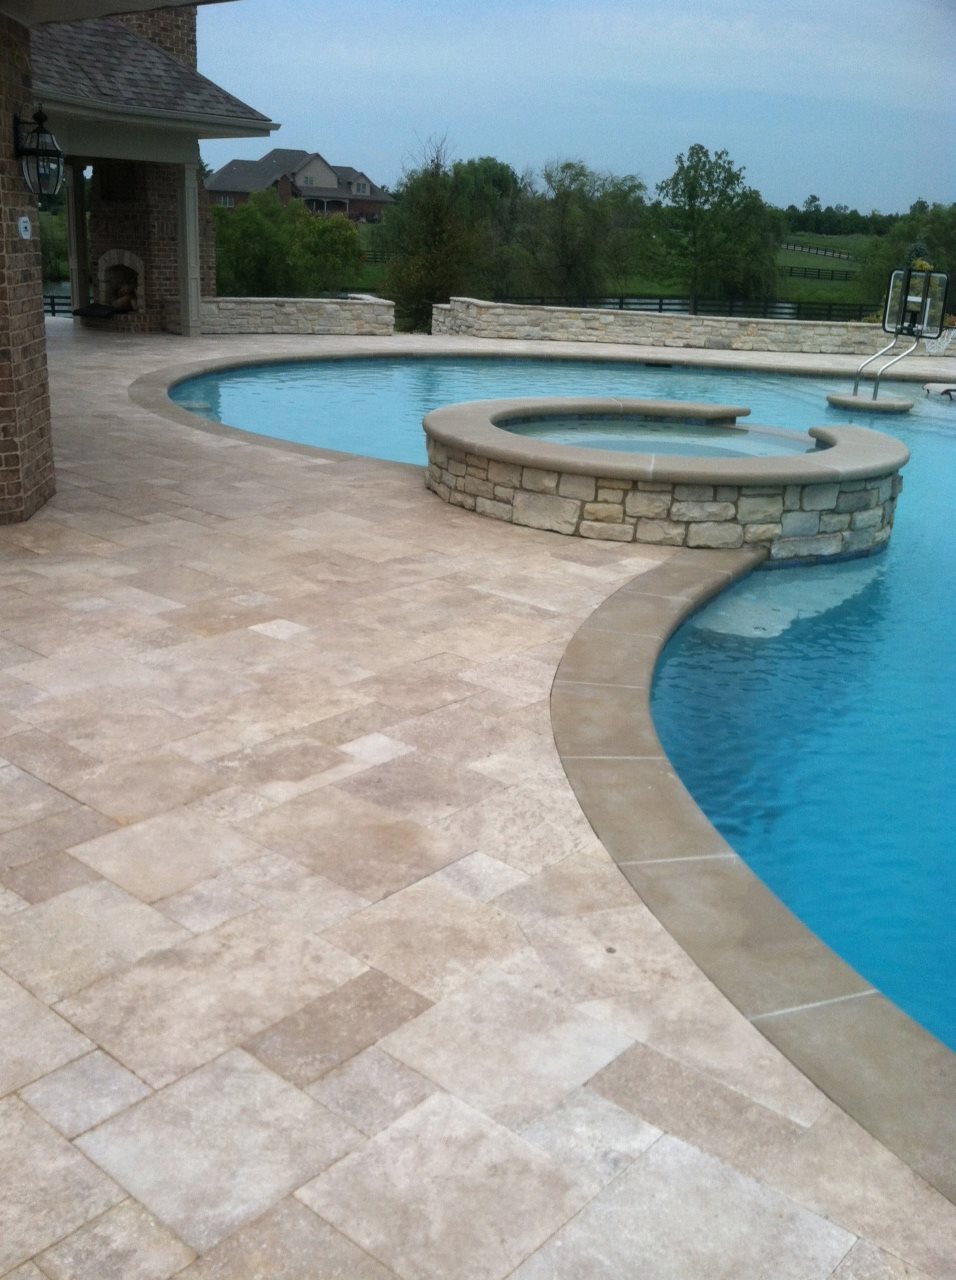
- Every travertine installation we install is over top of a concrete slab, reinforced at least 4″ thick with 6″ of compacted aggregate base beneath of it.
- Although we still use sand for the setting bed, we mix the sand dry with portland cement before screeding it out. We screed the sand and portland mix dry (no water added). We install the travertine on this dry setting bed, keeping it dry until we’re able to cut in all the edge pieces and compact.
- We also use a non-woven geotextile filter fabric below the sand bed, but on top of the concrete. This will prevent any of the sand setting bed from sifting through future cracks in the concrete.
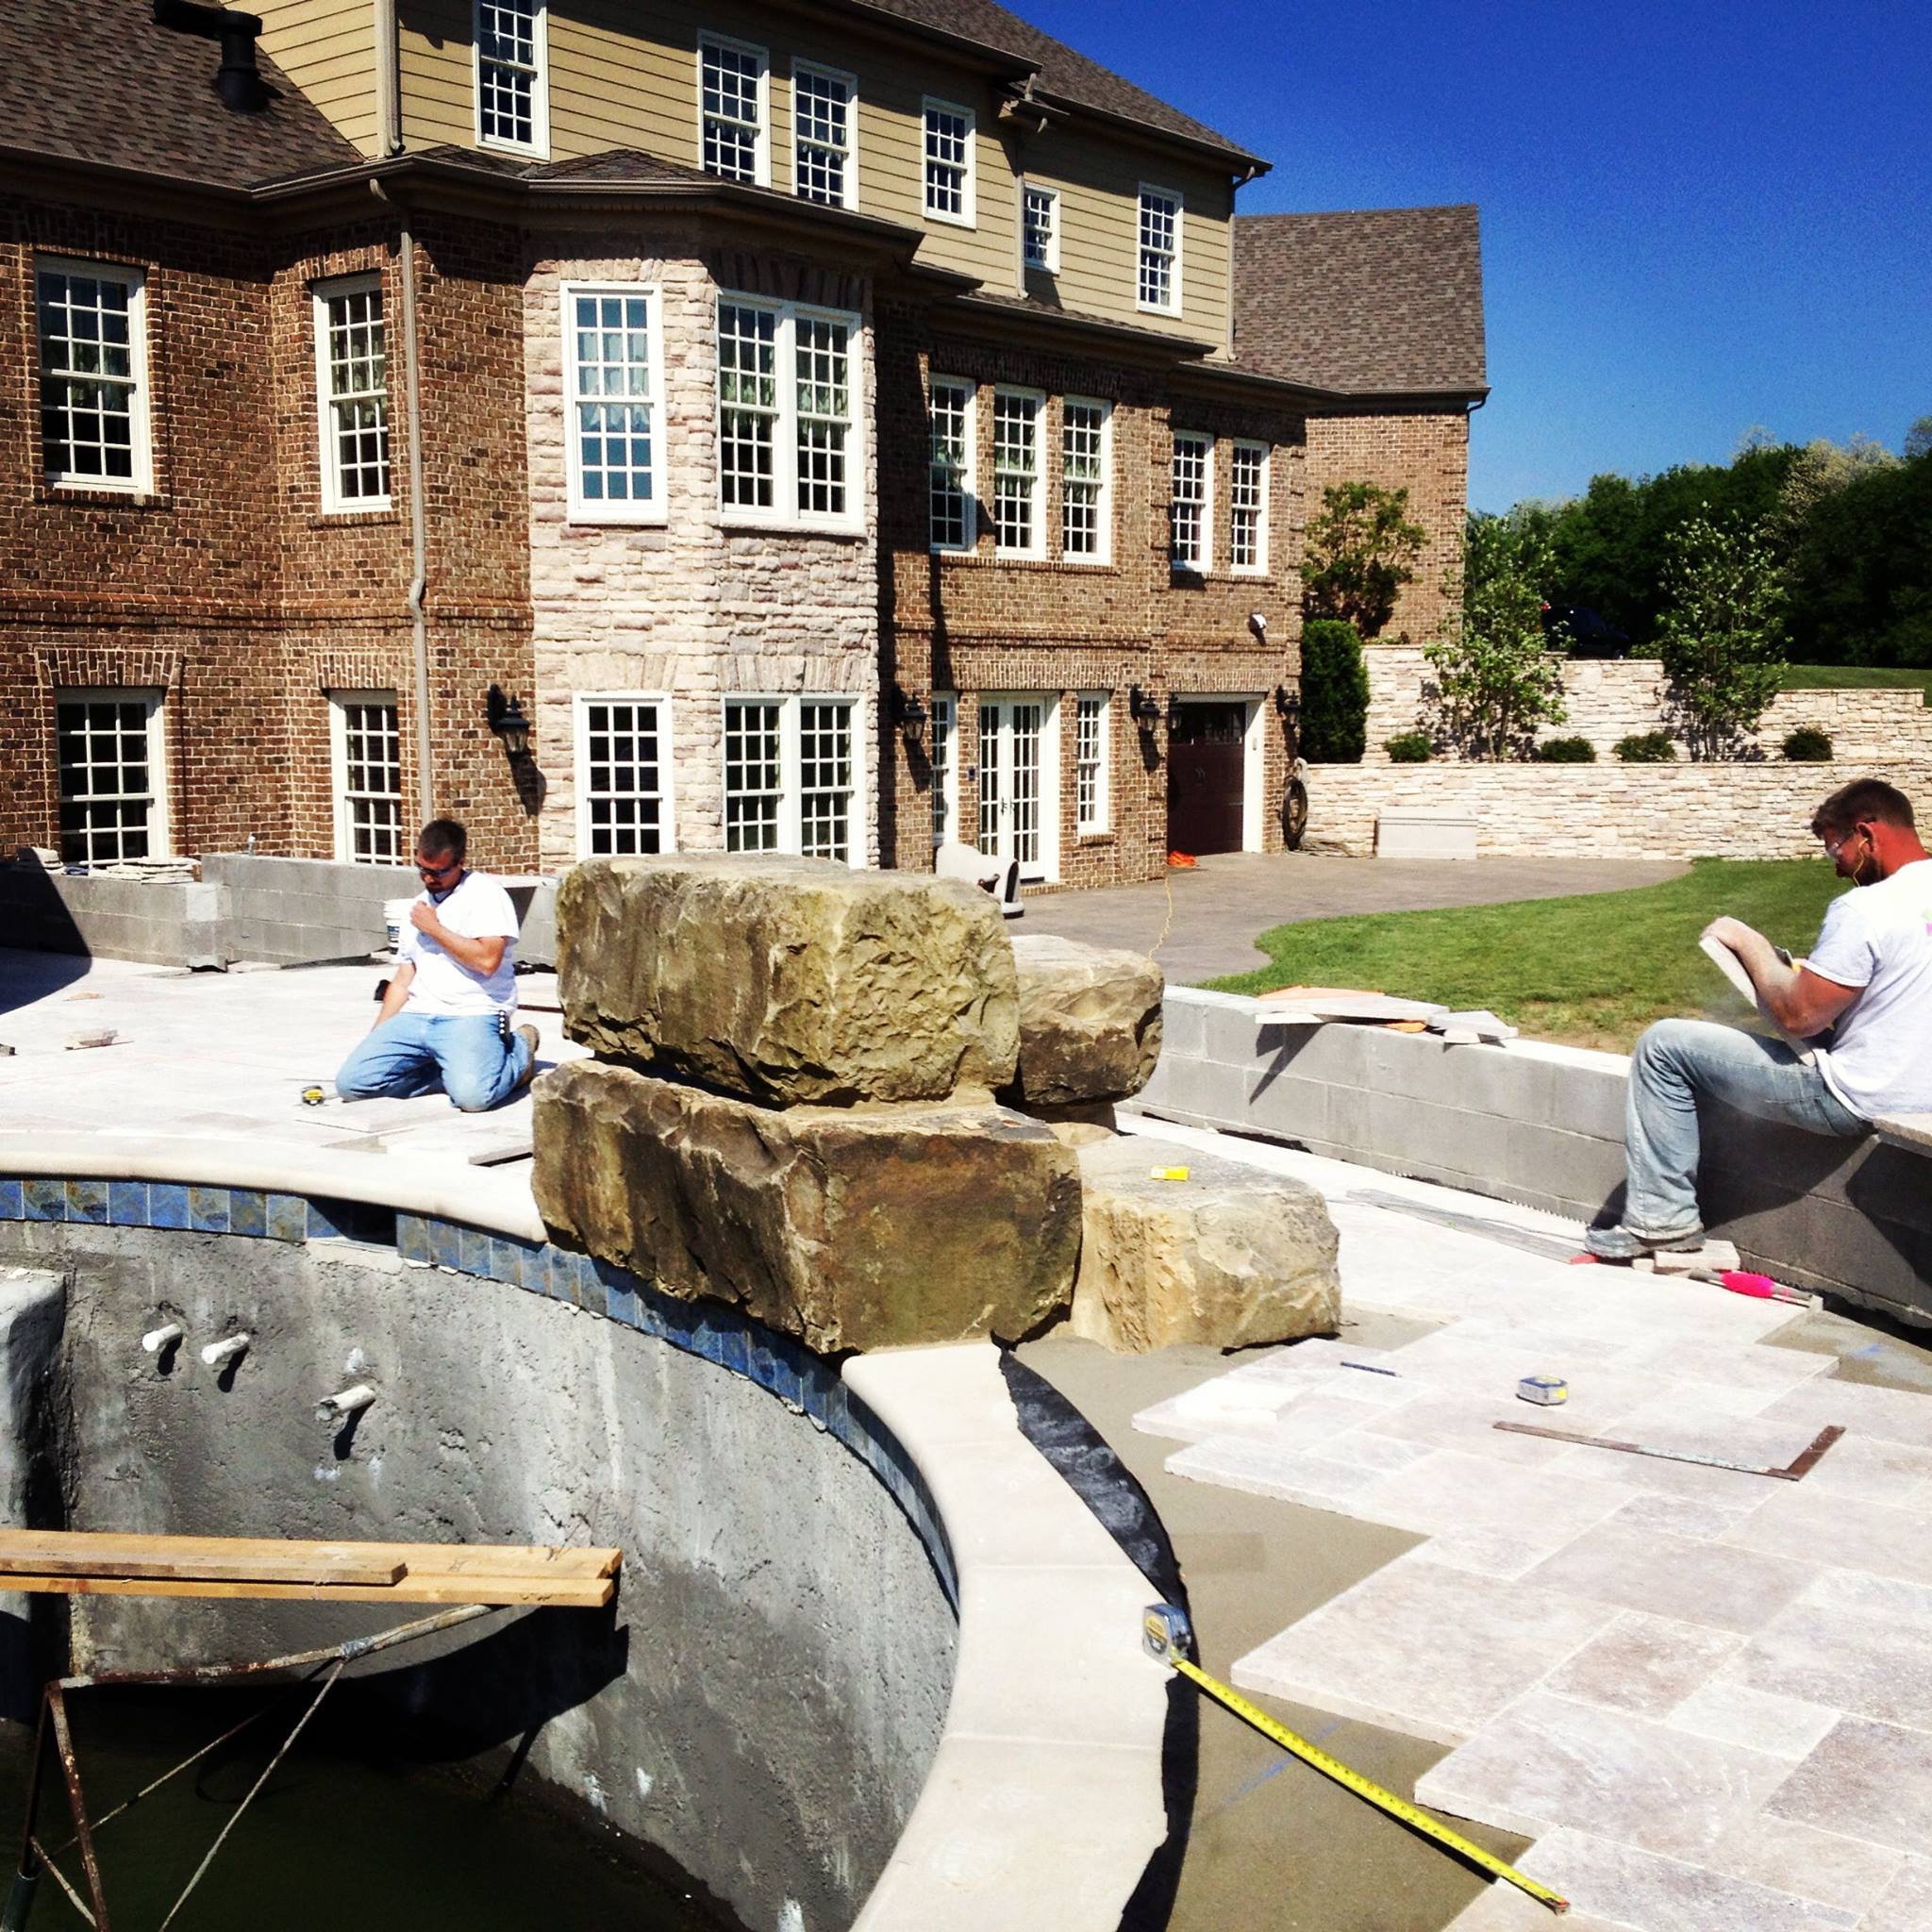
We’ve found this installation procedure works great, hardens everything up while remaining flexible (we mix a low ratio of portland to sand so that it’s just enough to harden while still remaining flexible) and keeps the stones even through our cold winters here in Ohio.
Additional Tips
Trust me when I say, the quality of the travertine has a lot to do with the look of the finished product. We used to have clients who would supply the travertine and we would install it – we cut that out real quick. They would purchase the travertine pavers through online suppliers to save money. There would be pieces with holes all the way through the travertine and way more holes than there should be. Holes in travertine are natural, however, in order for travertine to hold up especially in cold climates it must be very dense. The holes are the easiest way to tell how dense travertine is. If there are holes that go through the entire stone, or if there are large holes, or if there are excessive amounts of holes chances are that piece of travertine is not very dense. In the winter, water will freeze inside of the travertine and break if the travertine is not dense enough.
If you’re located in Ohio, or within a 100 mile radius of Cincinnati, Ohio, we would be happy to install your travertine paver pool deck or patio, just click here to contact us.
If you’re not located in Ohio or within a 100 mile radius of Cincinnati, we would be happy to put you in contact with our travertine supplier.
Travertine Installation Guide
We’ve also put together an installation guide on how to install travertine pavers, especially in cold climates. Our process was developed in the cold climate of Ohio and we have installations that have been installed for 5 years and look just as good today as they did when we installed them. If you’ve fallen in love with travertine pavers, you’ve probably found that its difficult to find an installer who has any substantial experience installing travertine pavers. Once you have our installation guide, you can share it with a paver installer in your area and they will be able to use their existing skill set with our procedures to install travertine pavers in a way that will last.
If you would like to purchase our guide, simply click the Buy Now button below to pay with a credit card – the cost is $25. The instructions will be delivered to you within a couple hours via email.
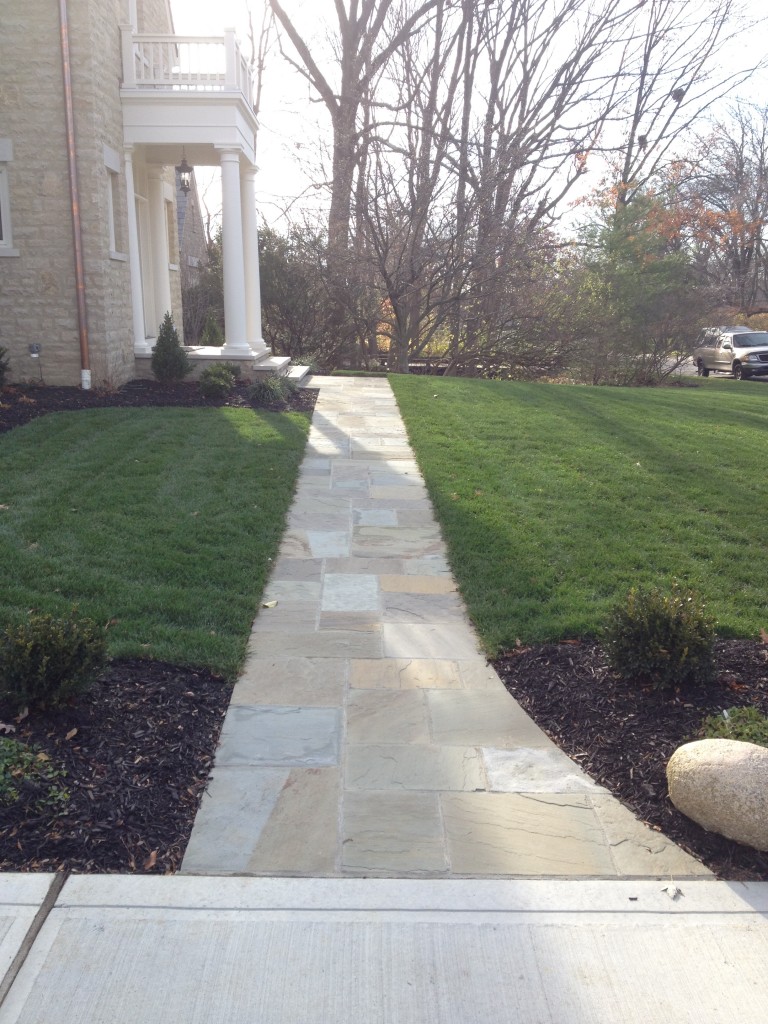
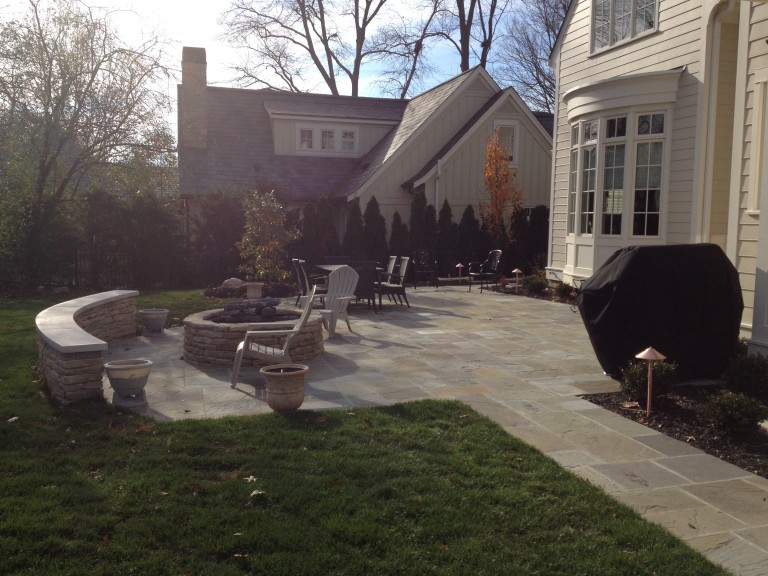
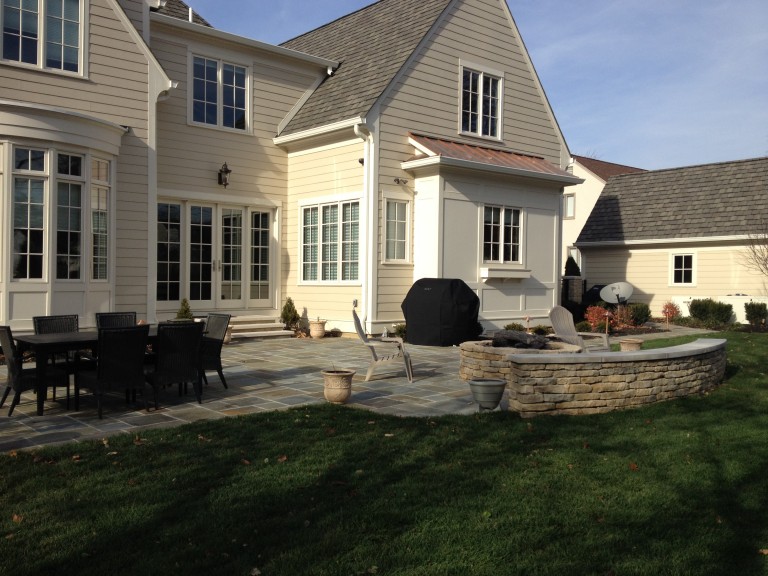
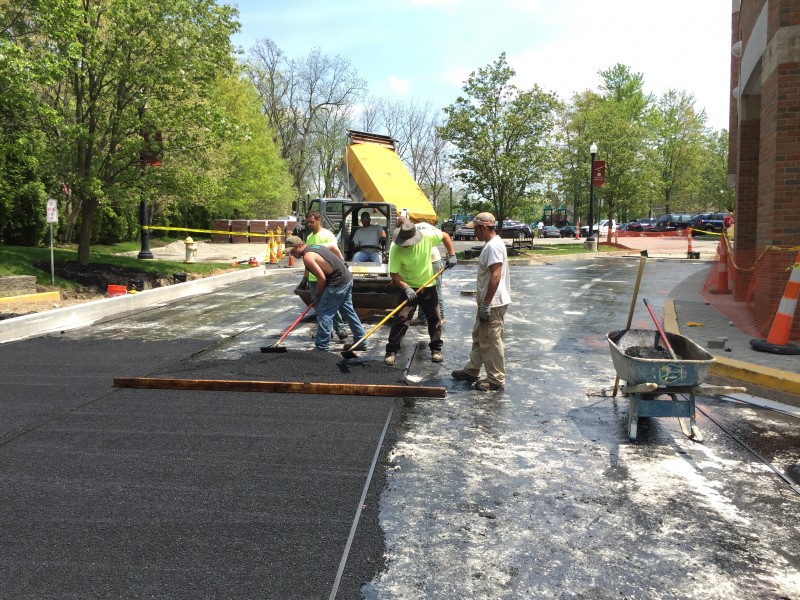
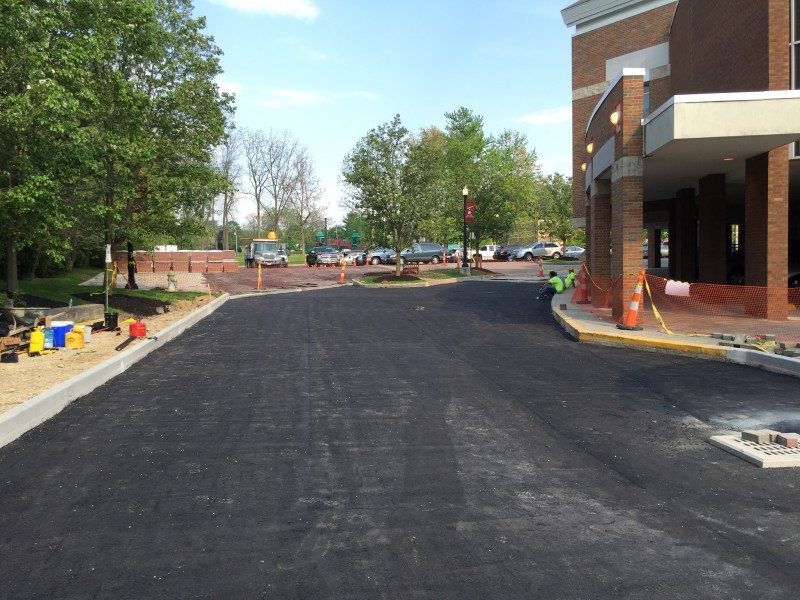
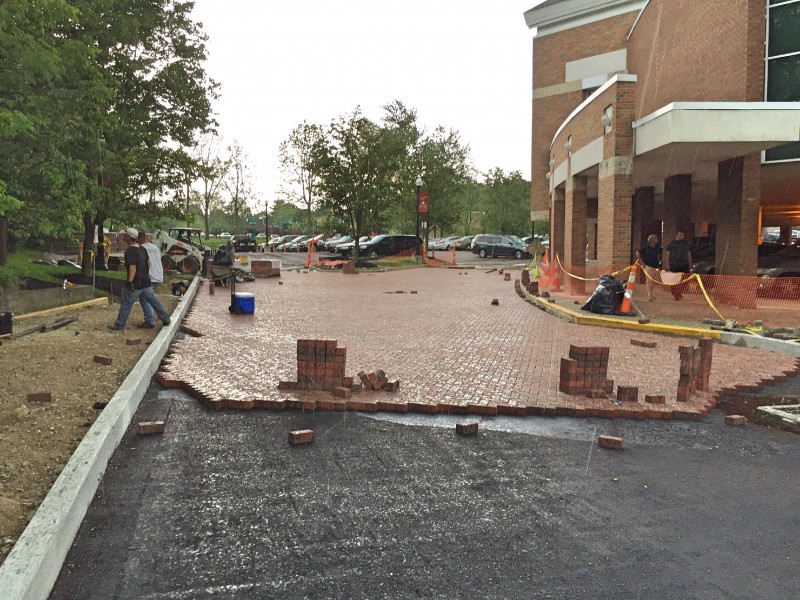
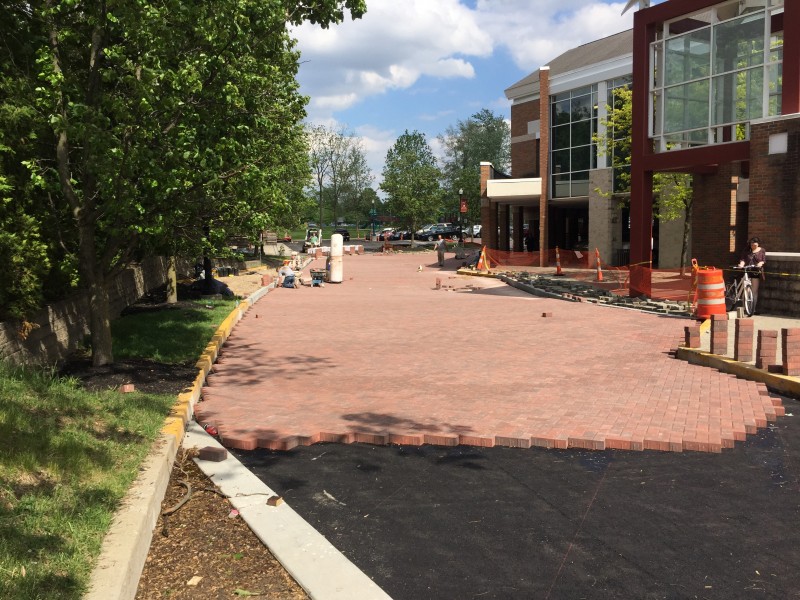
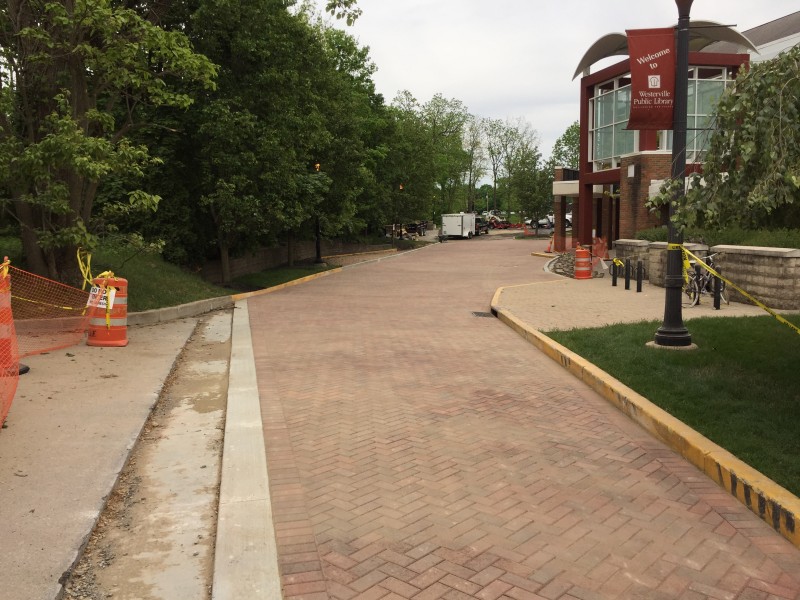
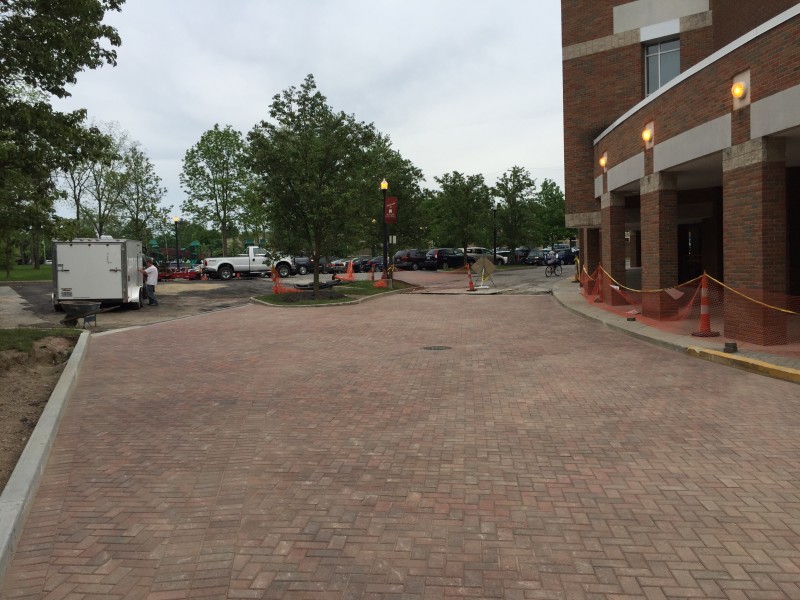
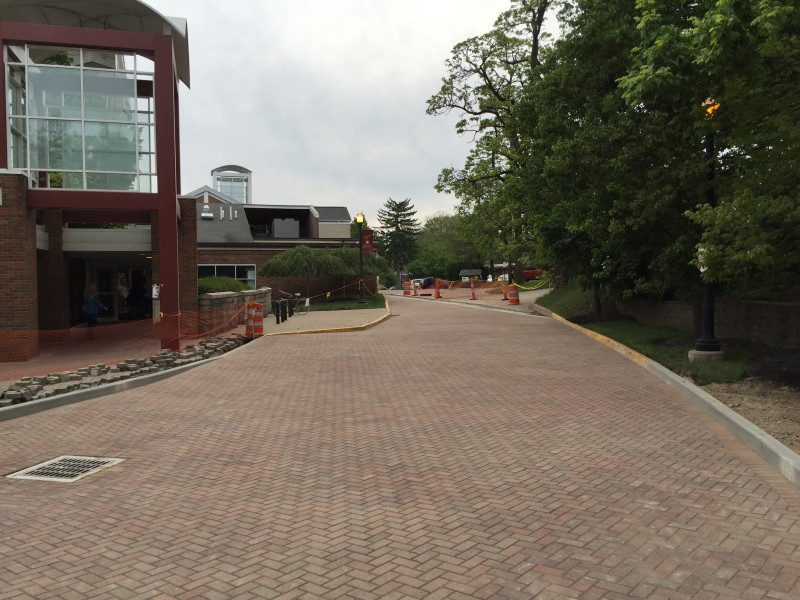
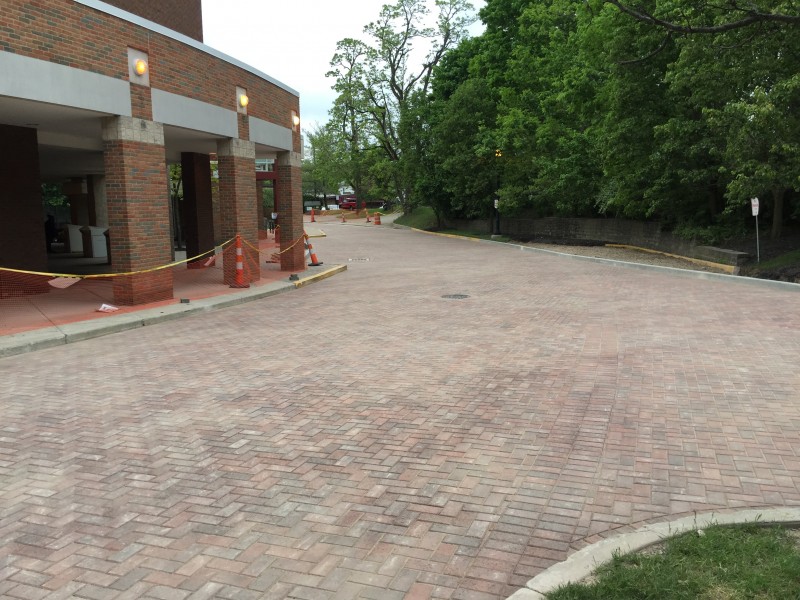
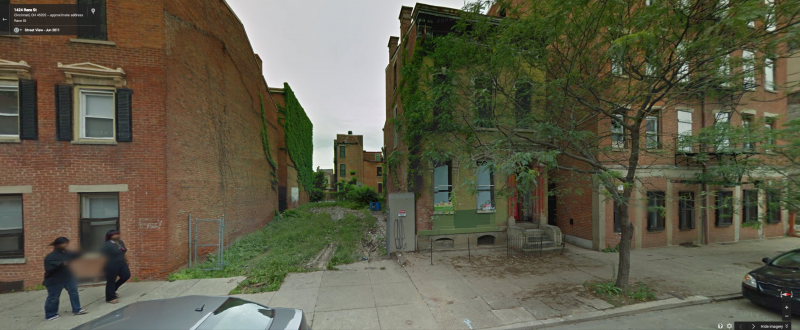
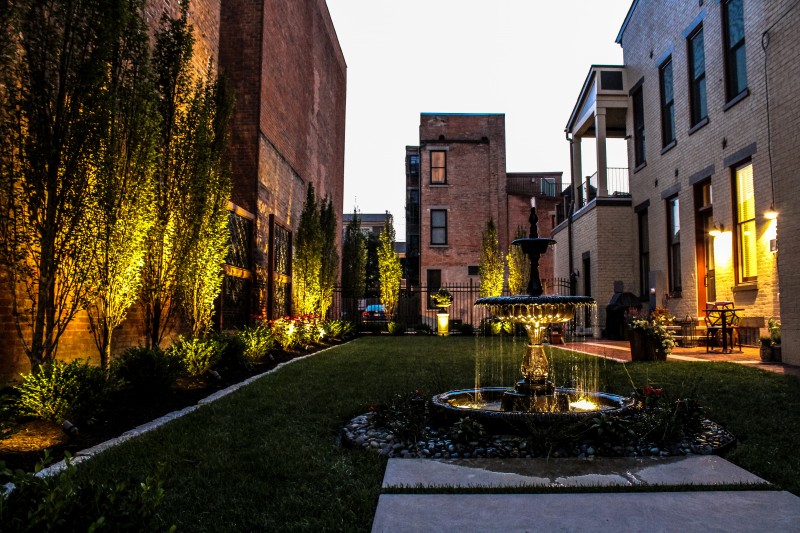
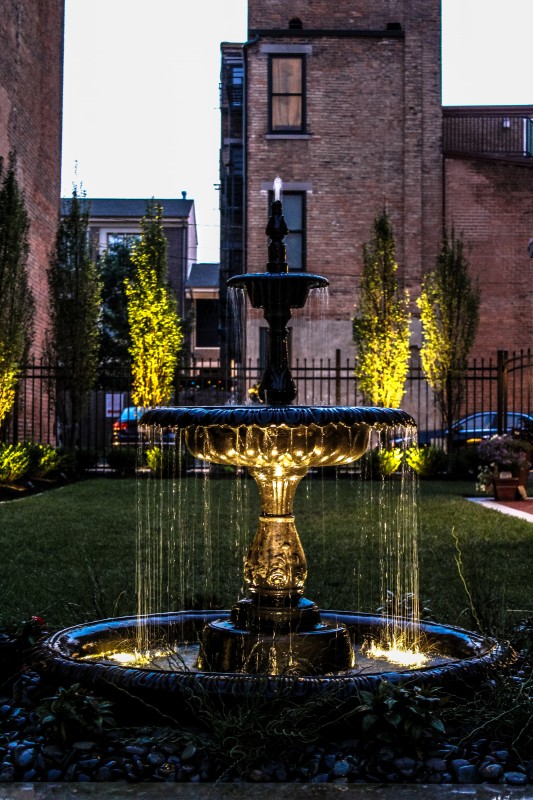
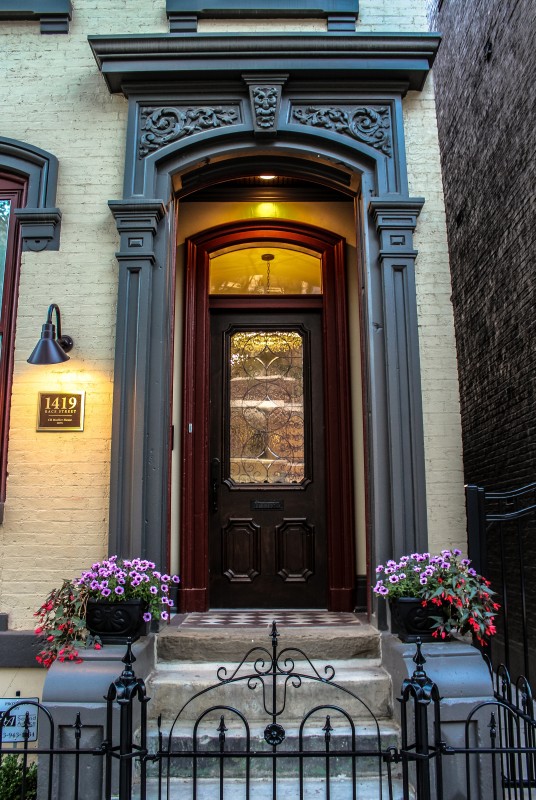
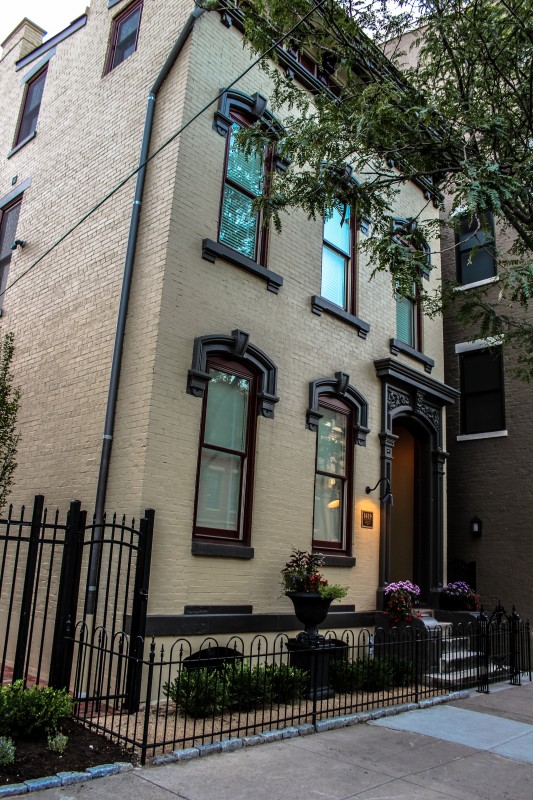
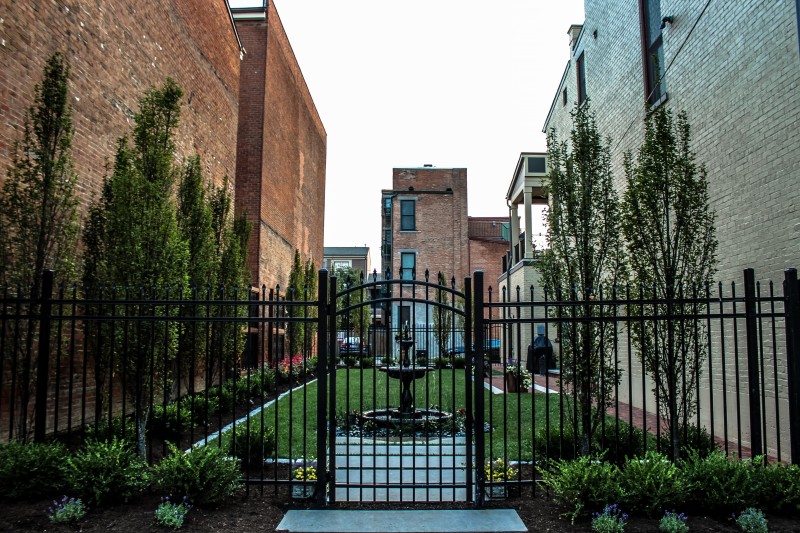
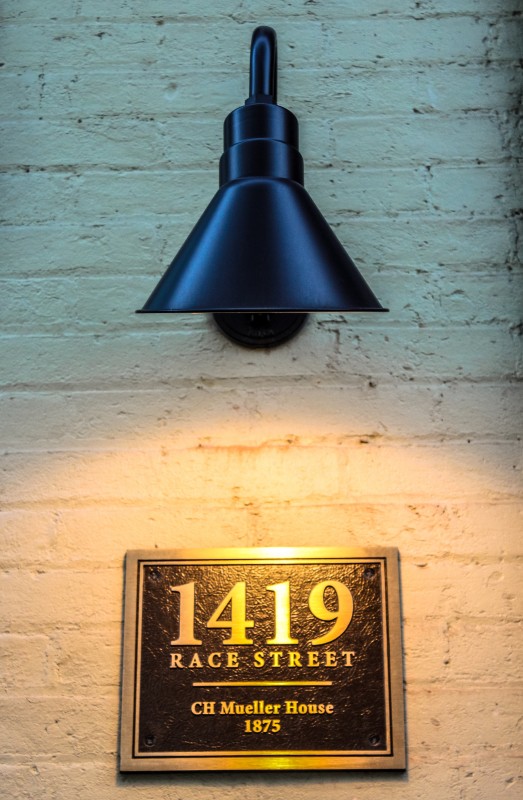
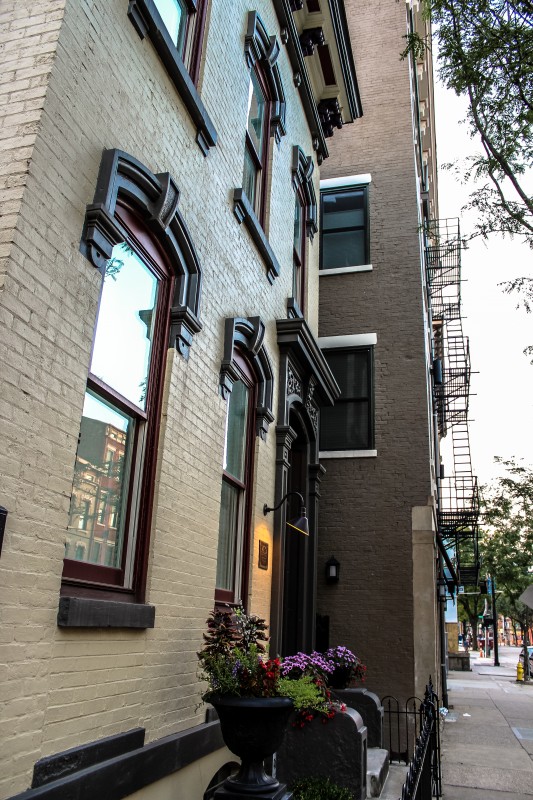
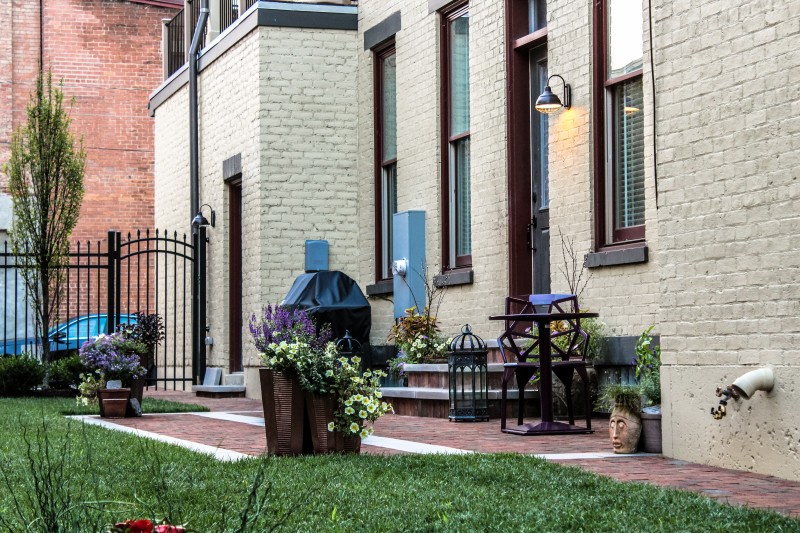
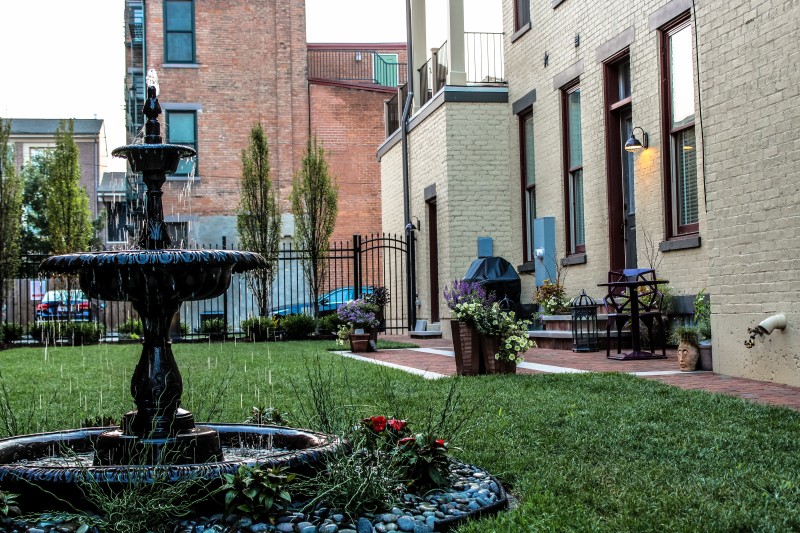
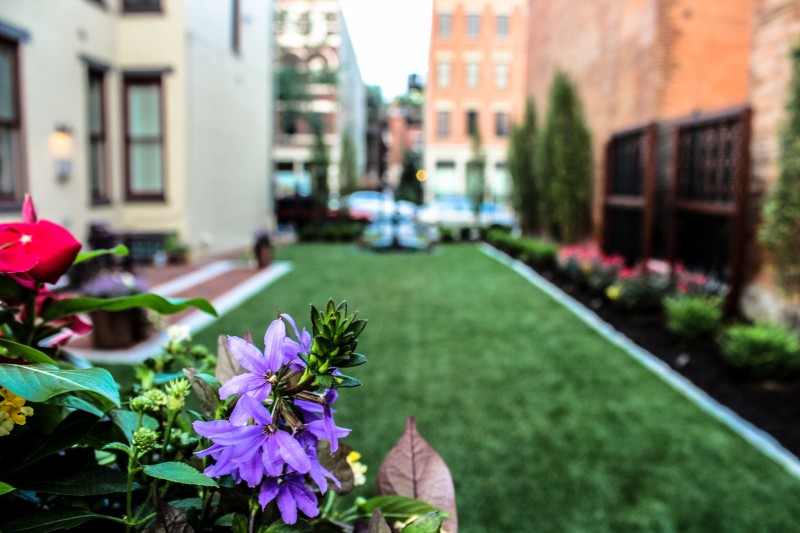
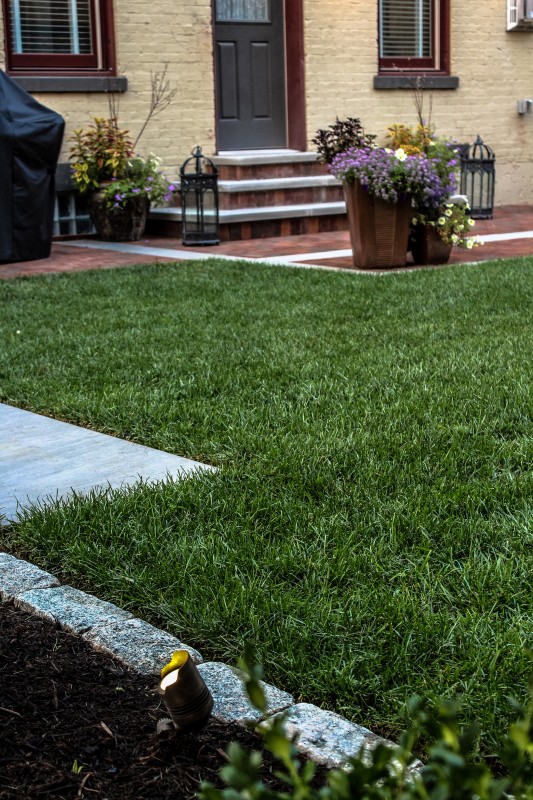
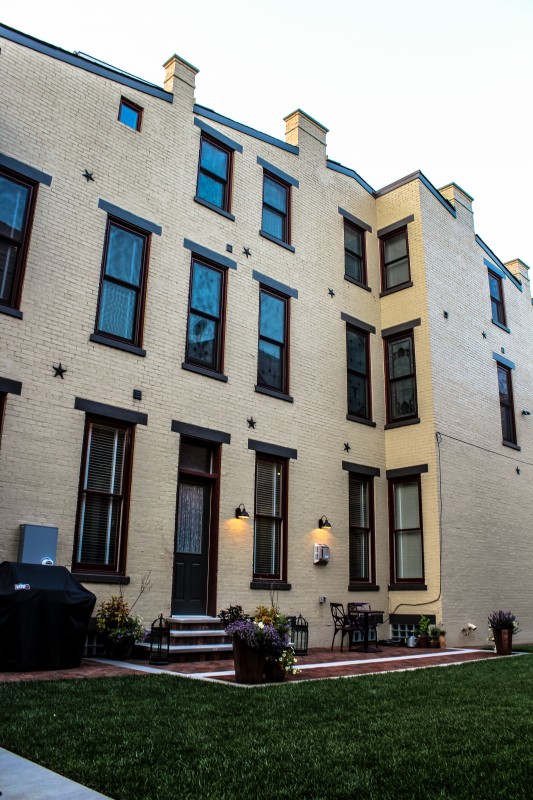
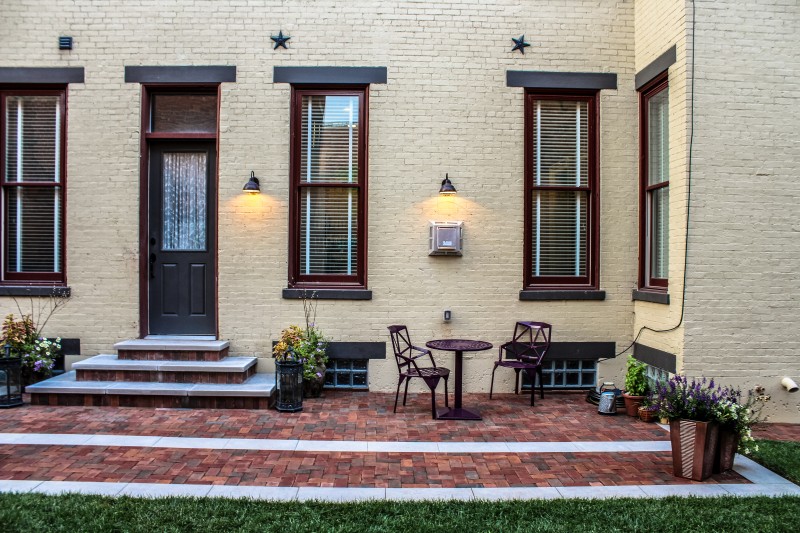
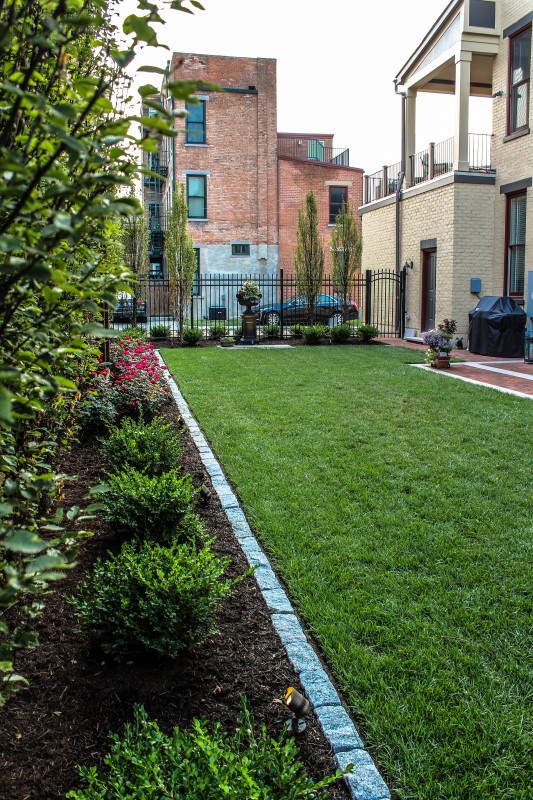
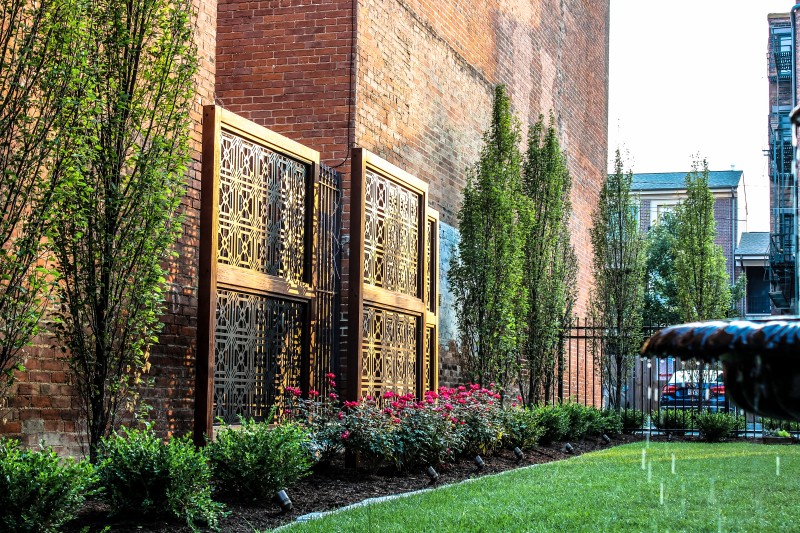
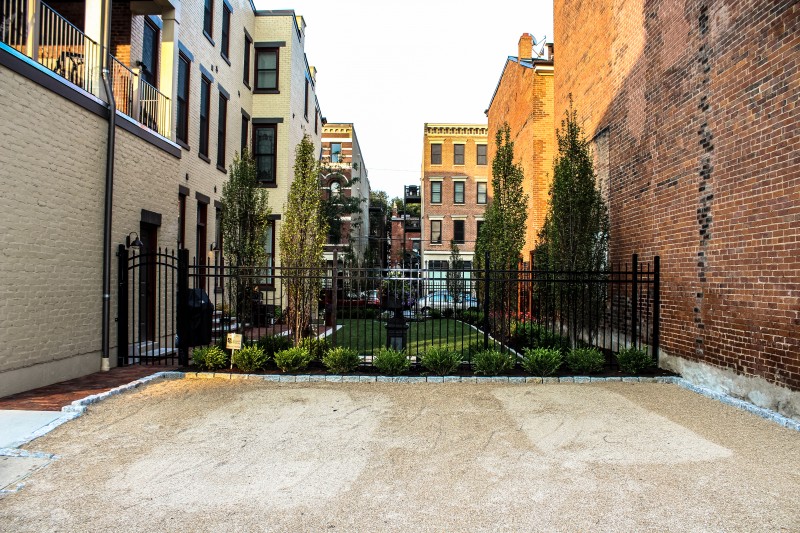
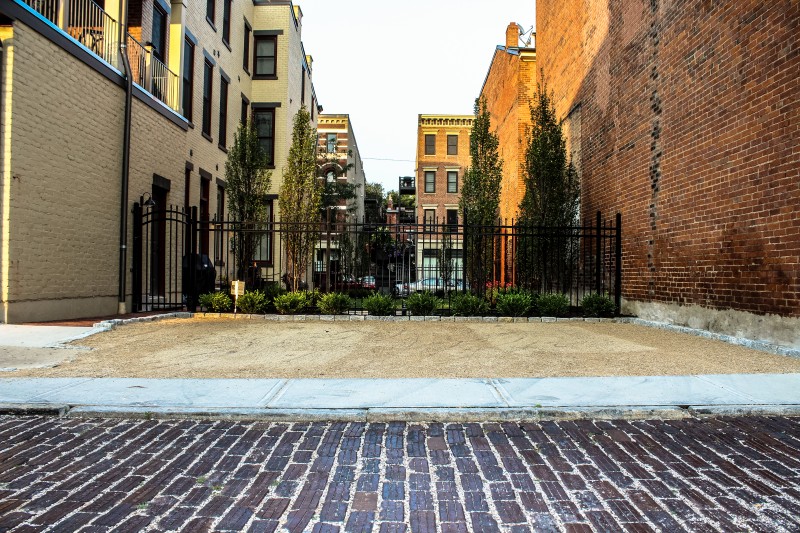
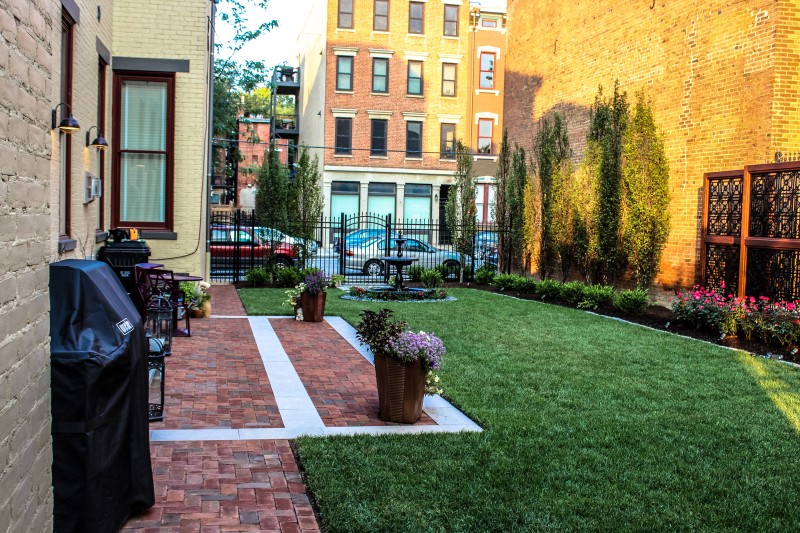
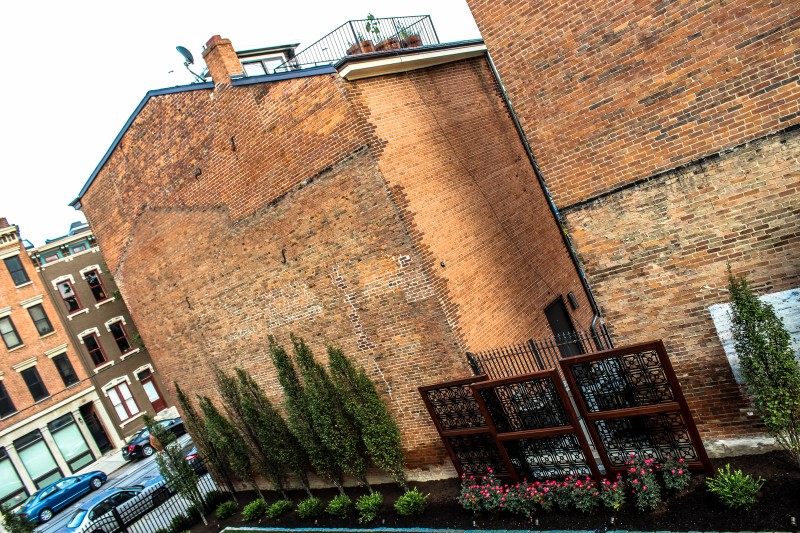
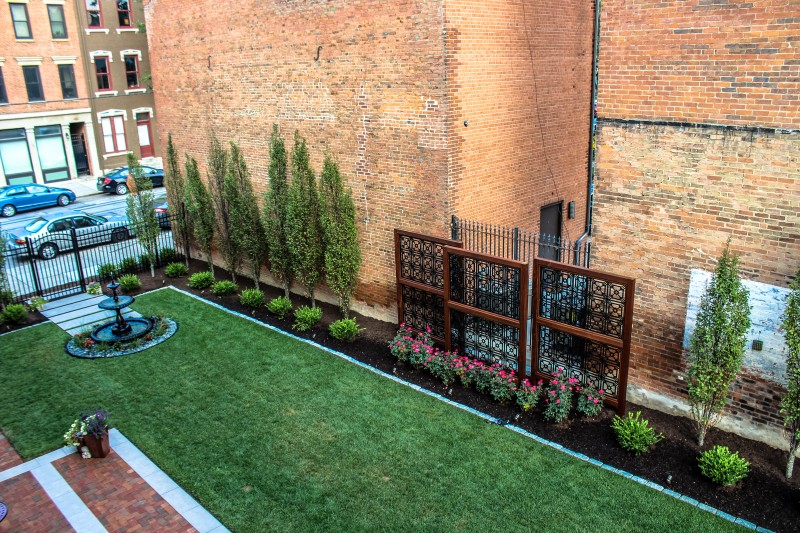
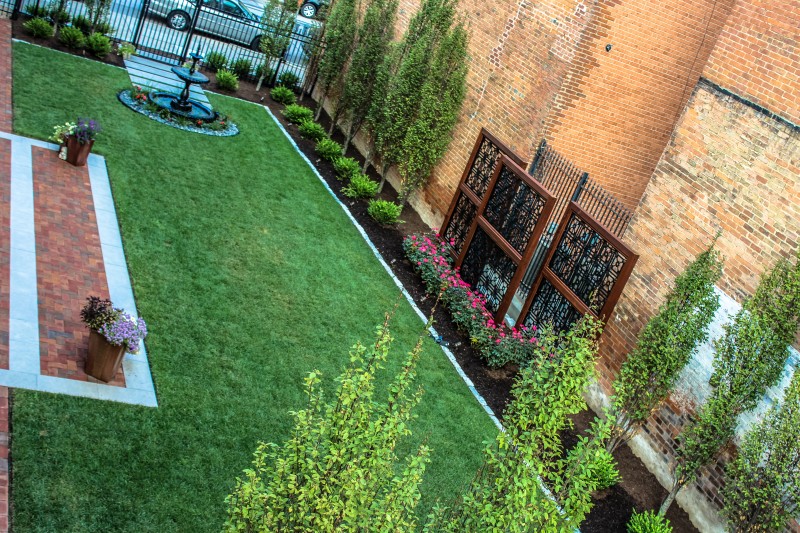
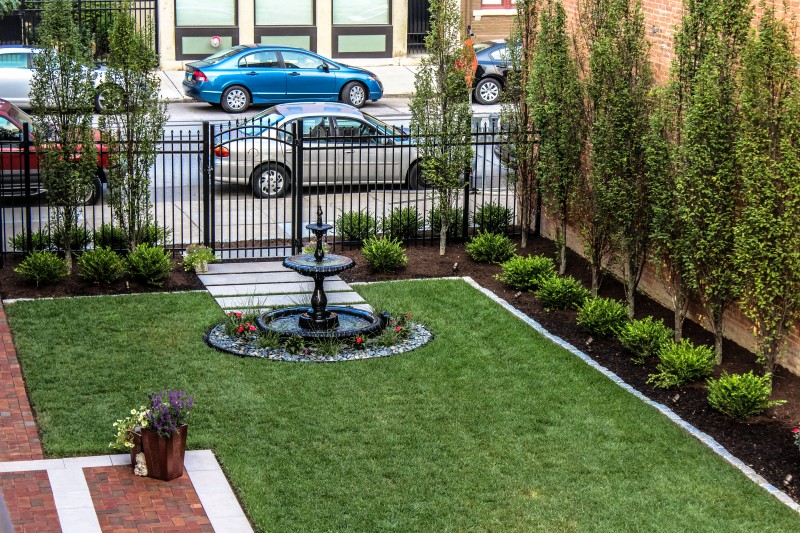
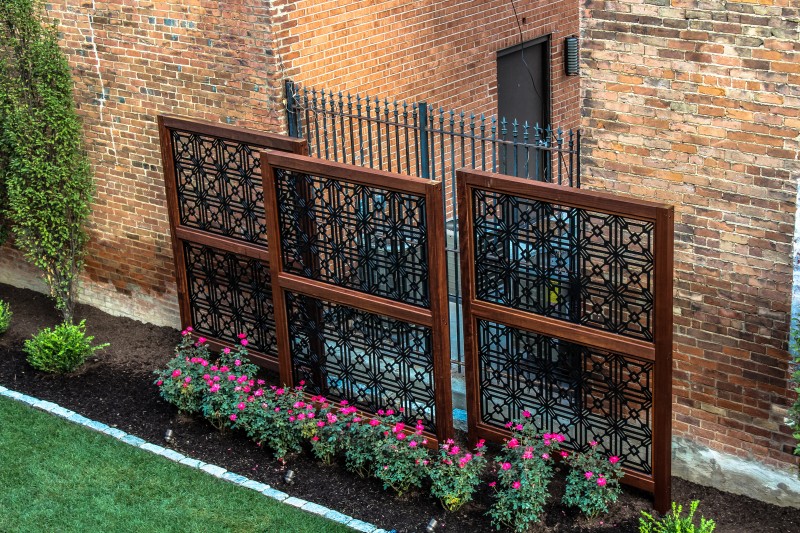
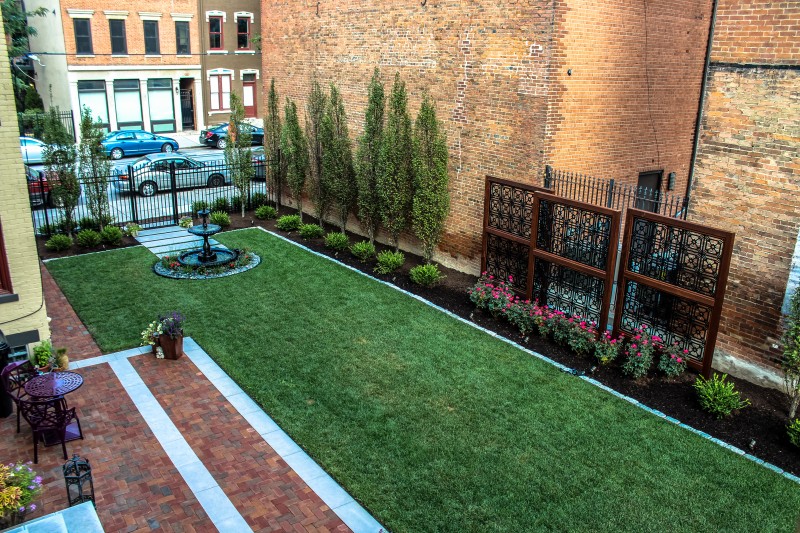
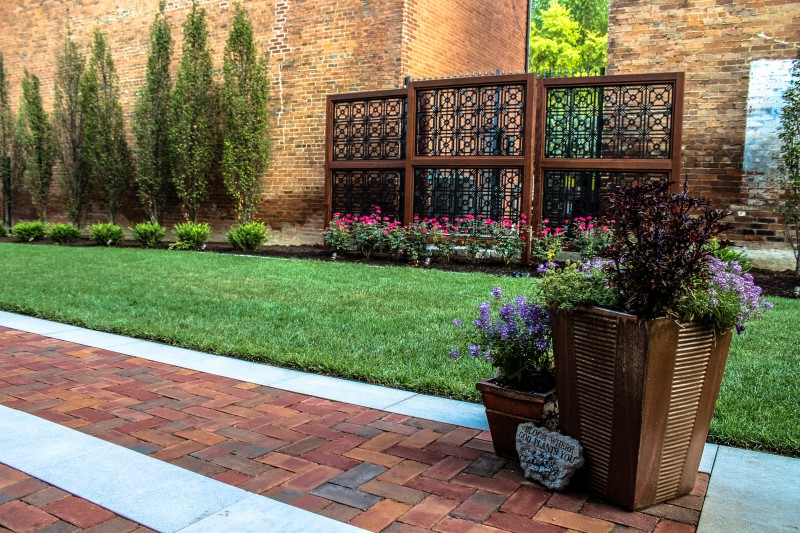
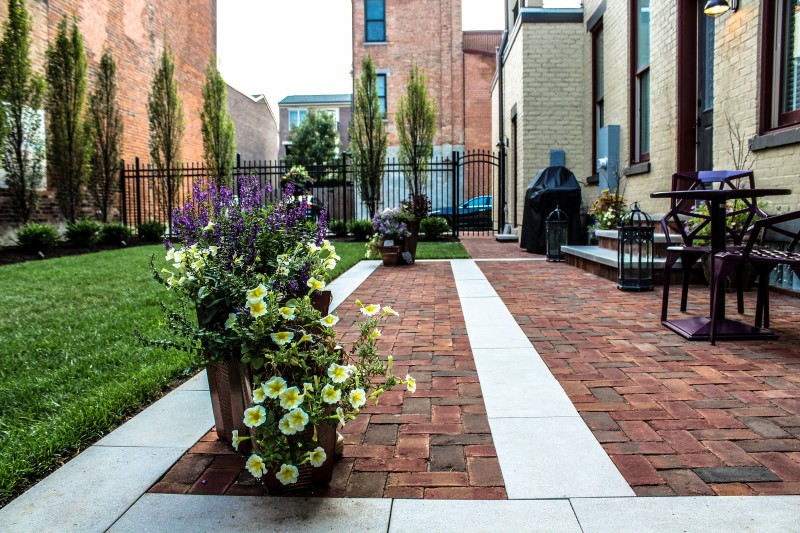
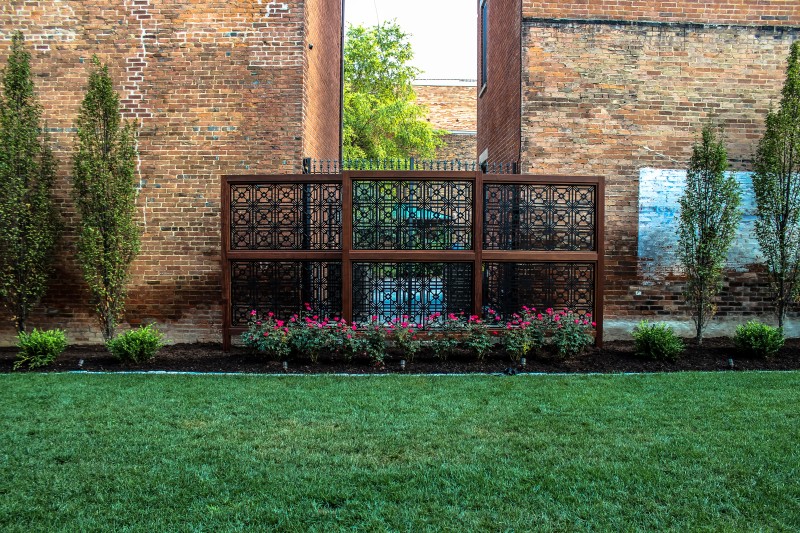
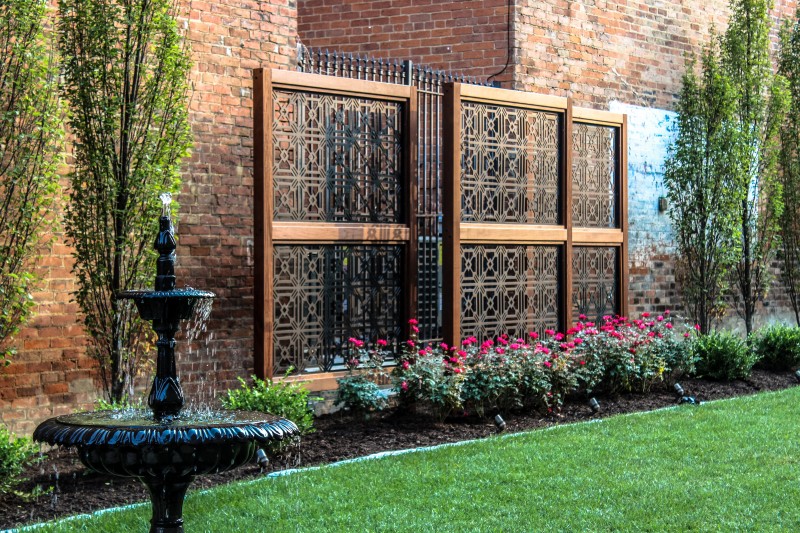
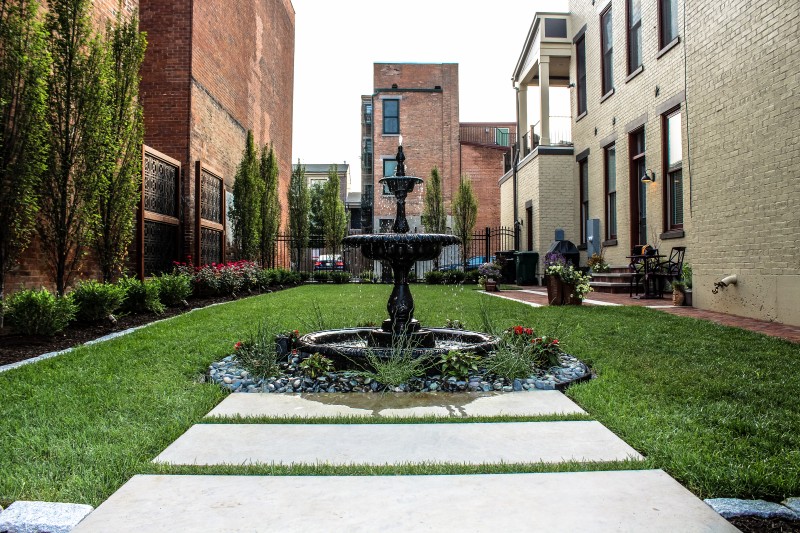
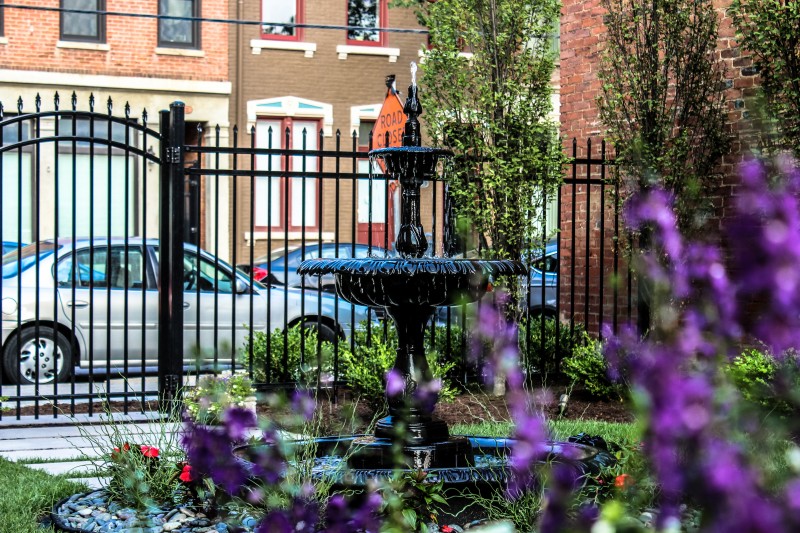
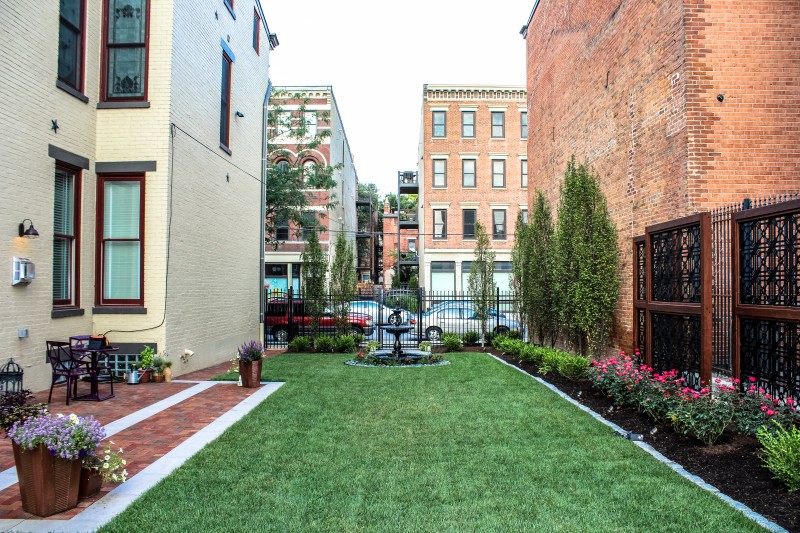
This is a project in Cincinnati (Over The Rhine) on Race Street practically right in front of Music Hall. We installed every aspect of this courtyard from the lush grass to the paver patio to the custom ipe privacy panels.
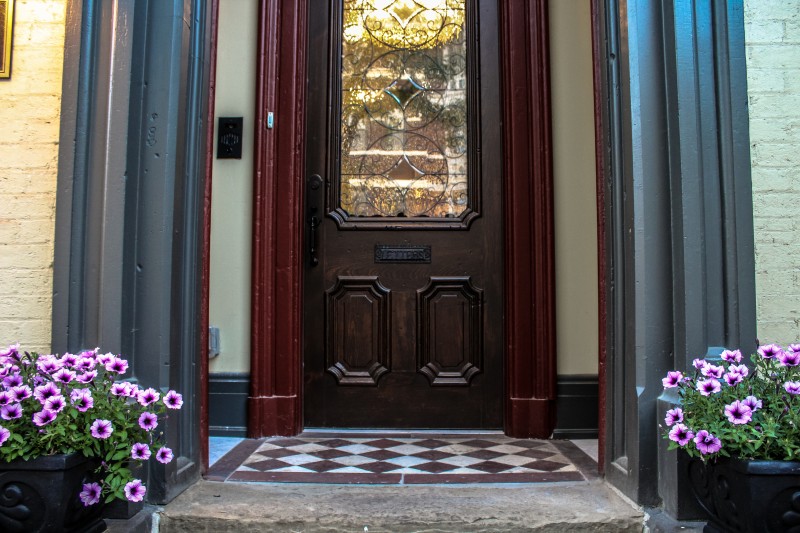
This property sat empty for 50 years (that’s what we’ve been told), until our client purchased this house and completely renovated it.
Before
After
Landscape Design by: Place Workshop
Photography by: Tom Gilliam
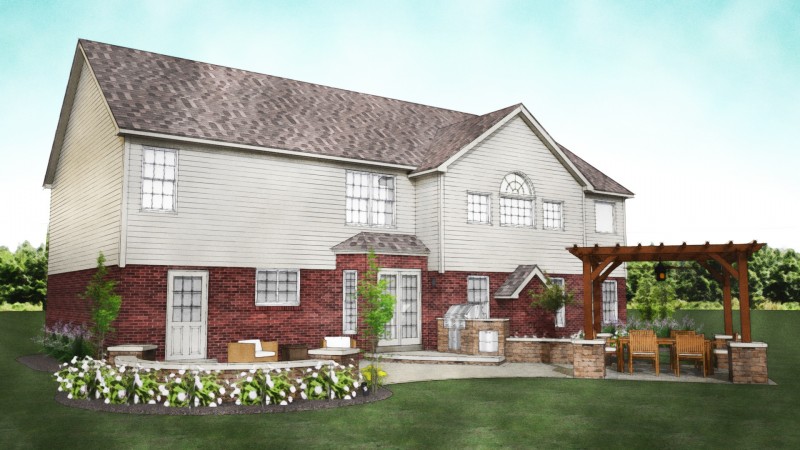
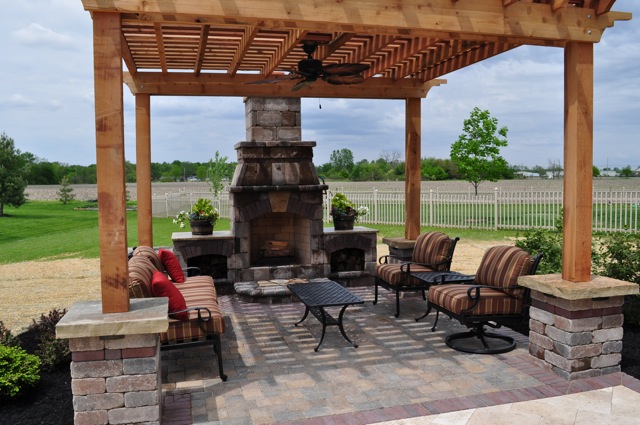
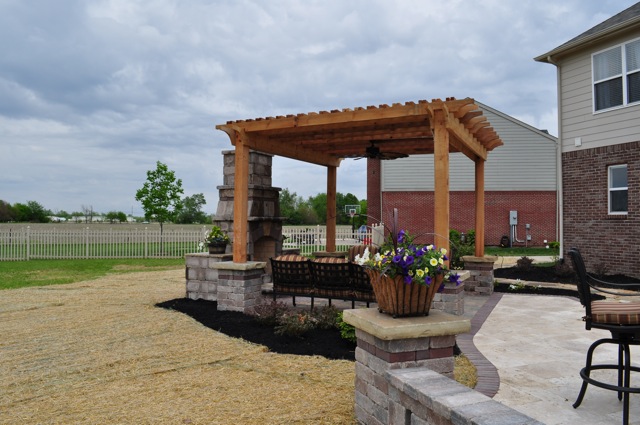
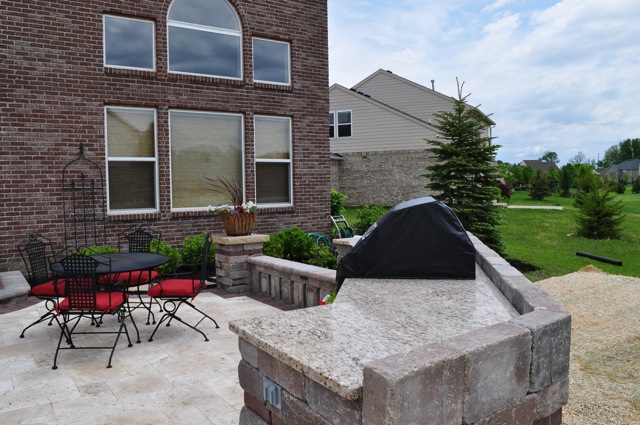
This is a complete outdoor living project that includes a custom build outdoor fireplace, custom cedar pergola, outdoor kitchen island with built-in-grill, a travertine patio with a natural stone walkway, and landscaping.
This project is located in Mason, OH
Before

After



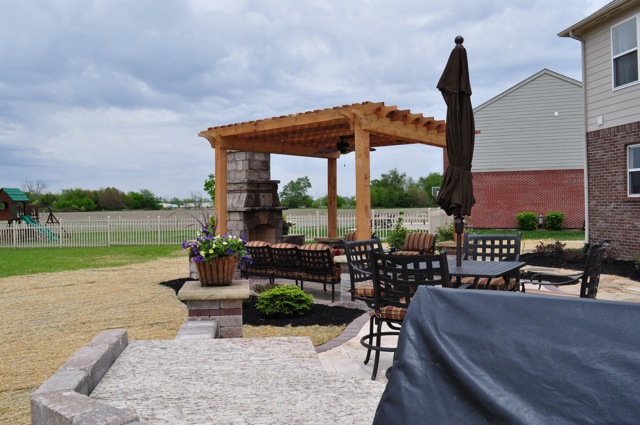

There’ s nothing more frustrating than having weeds growing between the joints of pavers. Before you know it, the weeds can take over and be almost impossible to remove.
I’m going to share with you a step-by-step way to remove the weeds between pavers, but before I do I want to talk about how the weeds got there in the first place.
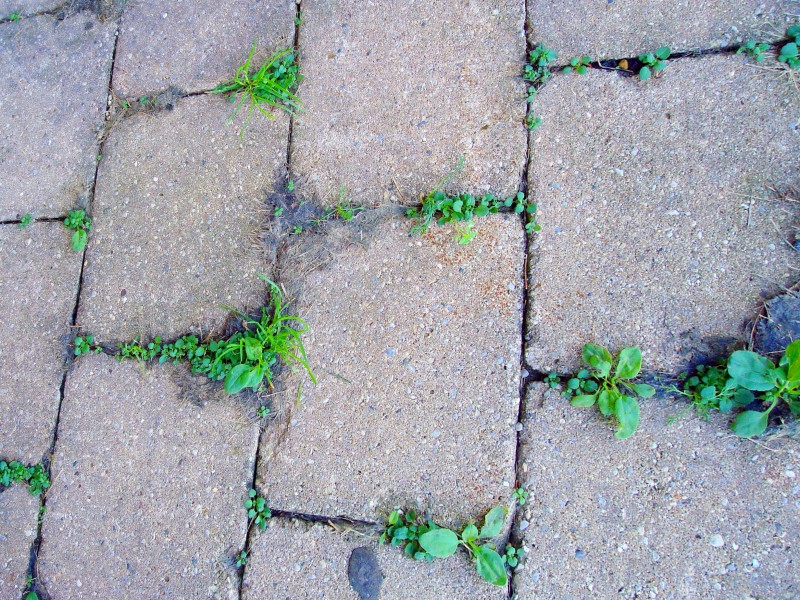
How do pavers get weeds in the first place
In my years, I’ve heard many explanations of where the weeds come from. In most cases, they were wrong.
The #1 misconception is that the weeds come from beneath the pavers. People that believe this, will ask us to install a weed mat beneath the pavers prior to installing them. However, this is not where the weeds come from and this certainly is not how you keep weeds from growing between your pavers.
99% of the time, weeds in pavers start from seeds blown in from weeds that are around the patio. Chances are, if you have lots of weeds in your pavers you probably also have lots of weeds in your yard. If you don’t believe me, see how Colorado State University says weeds start growing.
If your lawn is free of weeds, the seeds could be blowing in from your friendly neighbors yard. Once you have a couple weeds in your patio, they will start to spread. Some types of weeds like crabgrass can spread and take over your entire patio.
How to get ride of weeds in pavers
Before I share how we remove weeds from pavers, I want you to know that a properly installed paver patio will not grow weeds near as easily and if you follow the “How to keep weeds from growing between pavers” instructions at the bottom of this article, your patio wont grow weeds either.
I also wanted to note that weeds love a cool, damp environment. If your patio doesn’t have adequate slope to drain the water off the patio when it rains, chances are the sand in the joints will remain damp making them a thriving place for weeds to germinate and grow. If this is you, you’ll definitely want to get our “How to keep weeds from growing between pavers” instruction manual.
Step 1: Kill the weeds
There are many ways that you can kill the weeds between pavers. Bleach and Round-Up are a couple options, but we don’t like either of them for multiple reasons. They both are harmful to the environment, and the bleach can discolor the pavers. The solution, white vinegar. Crazy, I know.
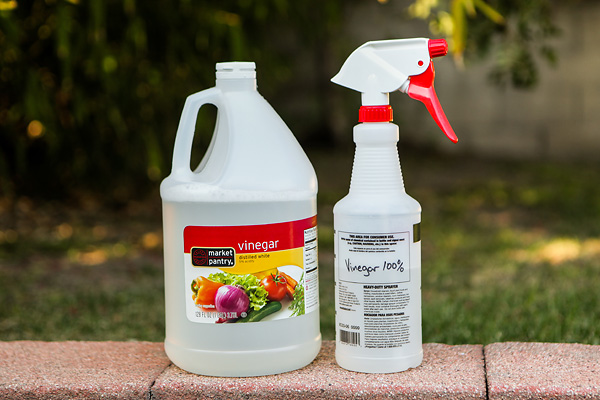
You’ll first want to do a test spot just to make sure the vinegar doesn’t discolor the pavers. Vinegar does have a small amount of acid, however, it’s usually not enough to affect the pavers. I still recommend that you do a test spot.
To do your test spot, spray the vinegar in a 2’x2′ area of your pavers. Wait a couple hours, then rinse off the pavers. If you don’t see any discoloration, you’re good to go.
We recommend using a pump up weed sprayer for larger projects. Empty the white vinegar into your sprayer and spray the weeds. Let it sit for a couple hours. Then rinse away.
Step 2: Remove the dead weeds
We remove the weeds by using a pressure washer. Typically, when we’re removing weeds from pavers for a client, we’re also looking to clean the pavers. A Pressure washer is great for doing both. We use both a spray wand and also a rotating surface cleaner attachment for the pressure washer. Both of these can be rented from most tool rental stores for less than a $100 per day.
Here is rotating surface cleaner attachment for pressure washers.
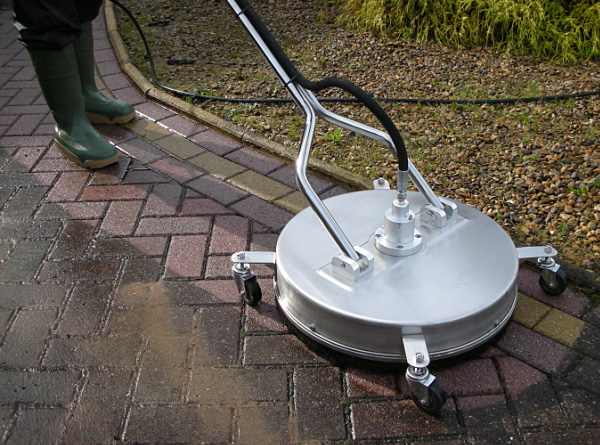
If your project is a larger area, you can save yourself a lot of time and achieve a better end result by utilizing one of these. However, you may still need to use the regular pressure washer wand to remove stubborn dead weeds from the pavers. The rotating surface cleaner does an amazing job at cleaning the pavers also.
You will NOT want to use the jet nozzle of the pressure washer as this can etch and cut grooves into your pavers. Instead, use one of the fan nozzles. Hold the nozzle about 12″ away from the pavers focusing on the joint. You’ll goal is to spray out the weed from the joint. If your joint is full of silt/dirt, you can also go ahead and blast that out.
Warning: Your pavers are setting on a bed of sand. If you’re not careful, you can blast the sand from beneath the pavers right out the joint. Once the weeds are gone from the joint, be sure to move on to the next one.
Keep the weeds from coming back
After you’ve invested all this time an energy in removing the weeds from your pavers, the last thing you want the weeds to do is return. The problem: unless you do anything about it, they will. We’ve developed a step-by-step system that you’ll want to do right after you finish removing the weeds from the pavers to keep the weeds from coming back. In addition, this process will enhance the look of your pavers almost making them look new again.

We charge our customers about $2 per square foot of pavers for this service, however, if you’re not located in our service area (Southern Ohio), we would be happy to share this process with you – which will save you hundreds. We just ask that you pay us a small fee for the time we’ve invested putting this together. In addition, we will be happy to answer any technical questions that you have after you’ve purchased the step-by-step program.
We specialize in installing pool decks in the Centerville, Liberty Twp and Dayton, Ohio area.
If you’re in the market for a swimming pool in the Dayton, Ohio area and area considering a pool deck made from concrete pavers, natural stone (bluestone or travertine) you will probably find that your pool contractor is really only concerned about the pool. Often times, the pool deck is just one more thing in the way of them completing the project and getting paid; and usually, pool contractors aren’t that knowledgable about pool decks and design. That’s ok though, let them stick to what they do best, building swimming pools. We believe the design of not only the swimming pool but also the pool deck is extremely important. We work with almost all pool builders in Dayton and can coordinate the design and installation of your pool deck with them.
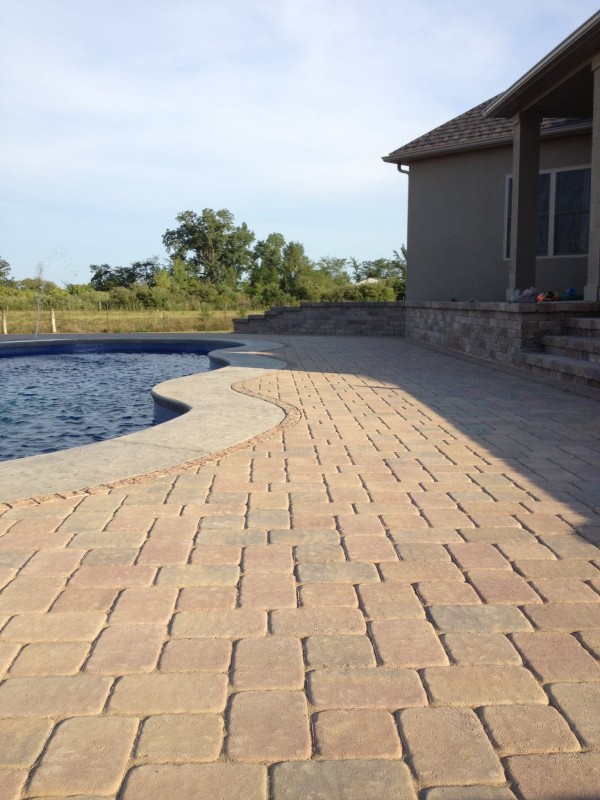
Paver Pool Deck in Dayton, OH.
In most cases, your pool contractor will be happy to pass off this portion of the project. In some cases, pool builders/contractors will have their own paver installer or pool deck contractor. You will want to do your research on their subcontractor and even visit some of the pool decks they’ve installed in the past (preferably some that’s been down for a couple of years).
When it comes to pool decks, especially paver pool decks, its important to understand how pools are constructed to properly design and install a successful pool deck. For example, with a fiberglass pool the pool contractor will over excavate around the perimeter of the pool to give himself plenty of room to work. Once they’ve installed the pool, some pool contractors will simply push loose soil around the pool that will continue to settle and cause issues with your pool deck like in the picture below. Since we’ve installed so many paver and stone pool decks, we know what needs to be done to ensure a successful long term installation; and we can instruct your pool contractor on what they should do as it pertains to the pool deck.
We install paver and natural stone pool decks around gunite pools (concrete pools), liner pools and fiberglass pools. We install concrete pavers, brick pavers, travertine, bluestone, limestone and many other stone options.
One of our pool projects
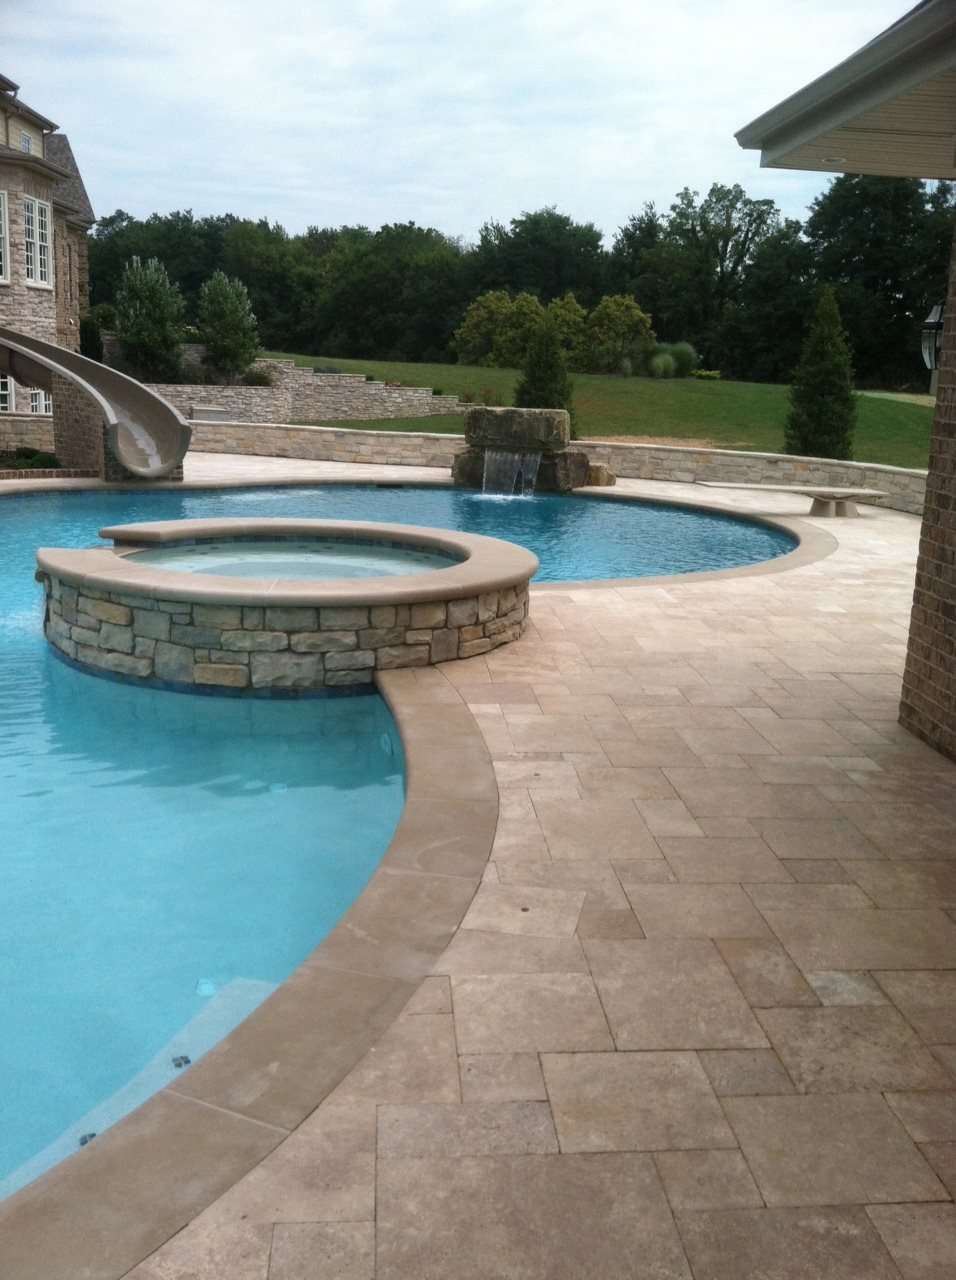
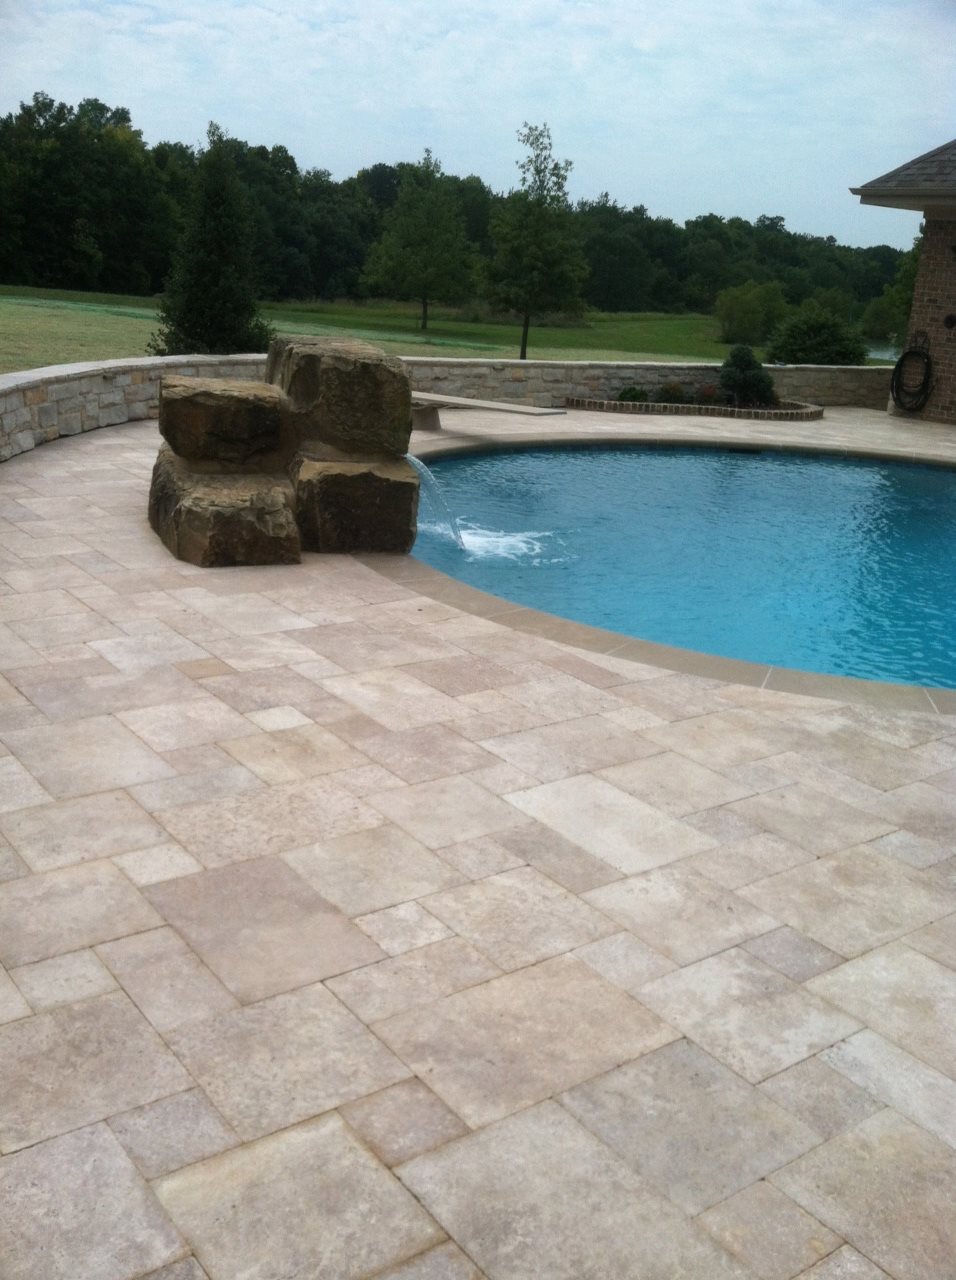
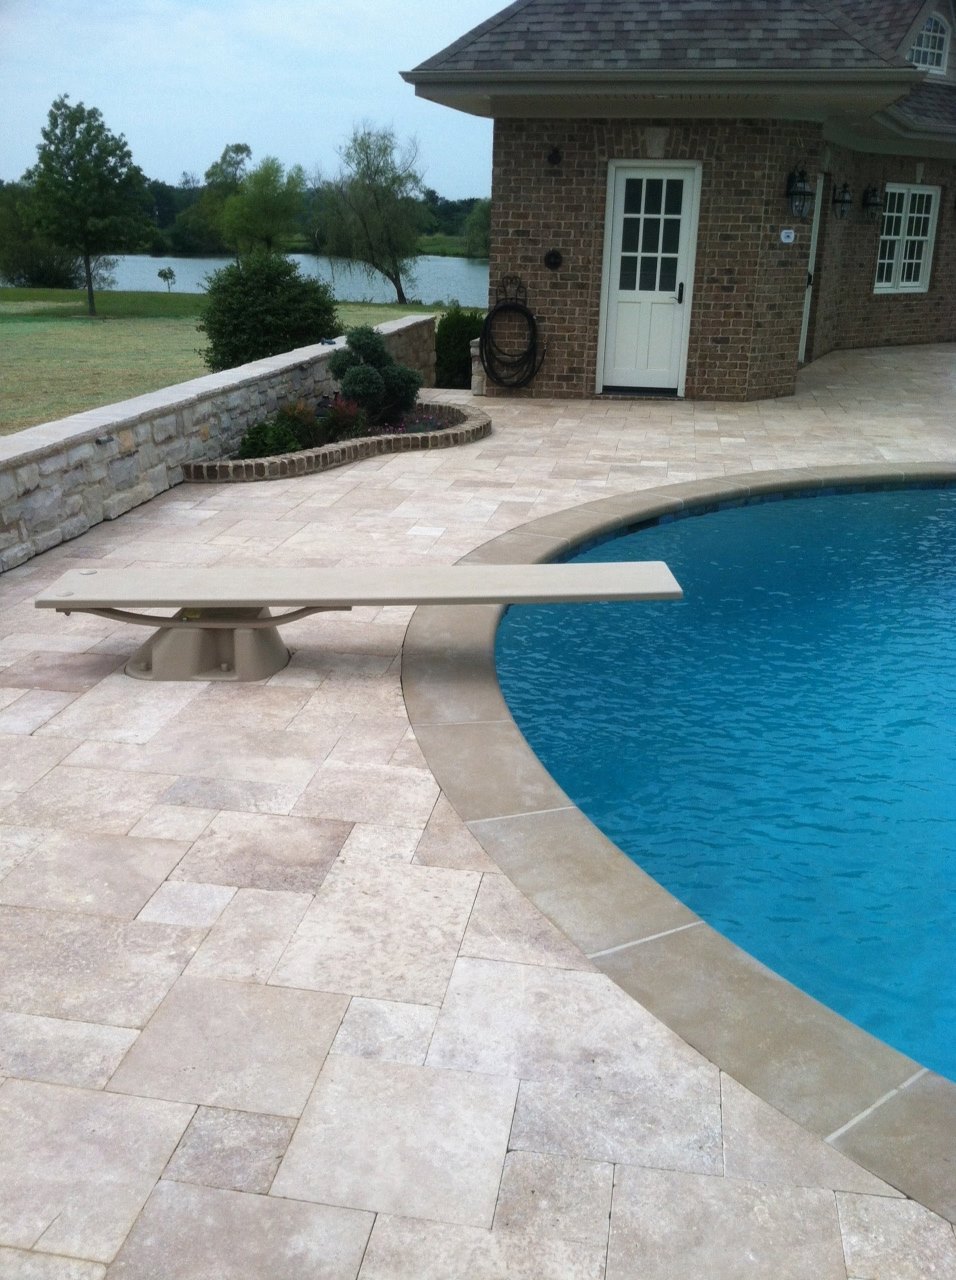
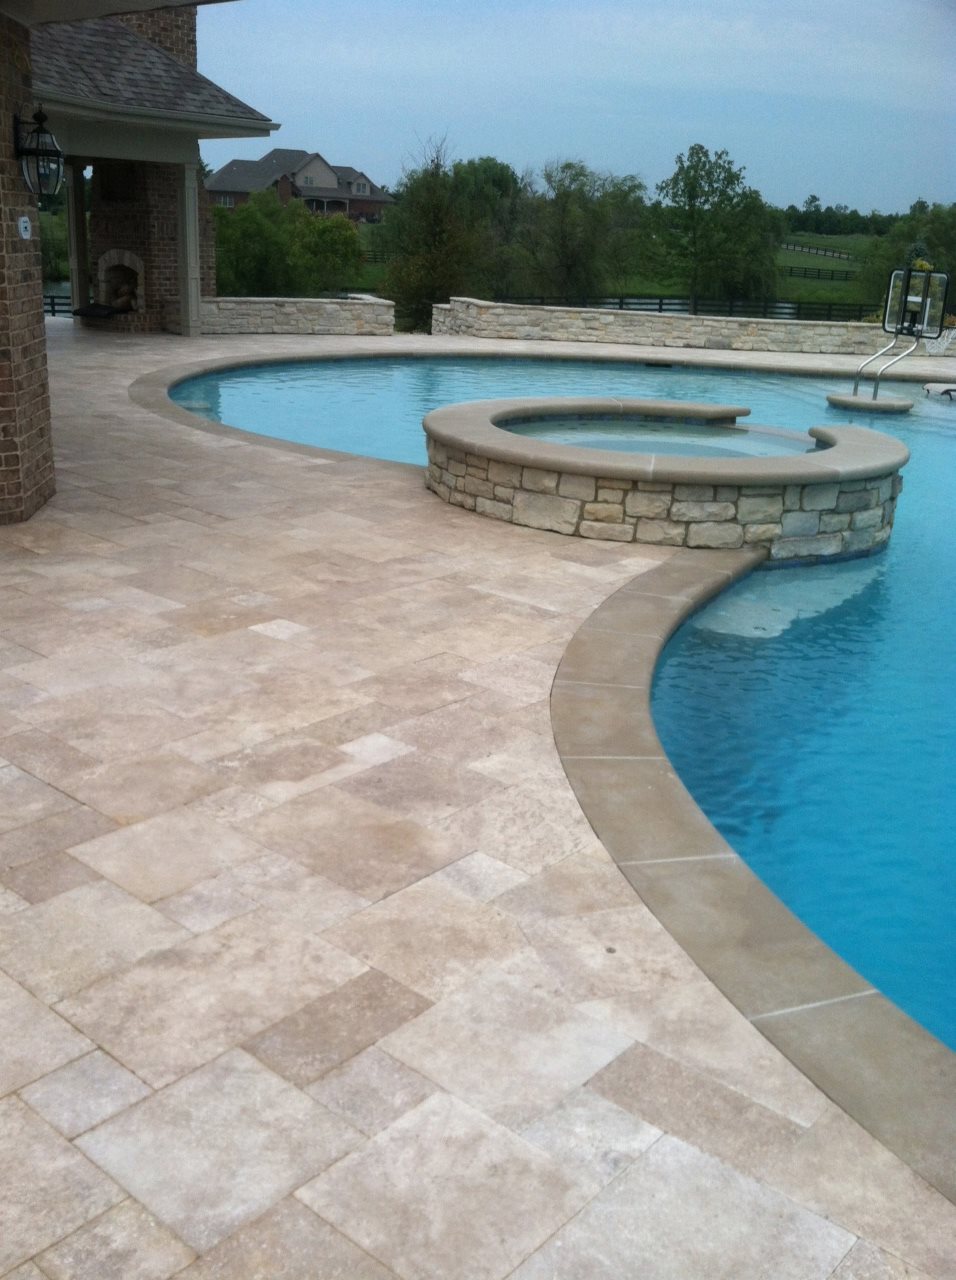
We install pool decks in Dayton, Mason, West Chester, Springboro, Centerville, Oakwood, Troy, Maineville, Lebanon, South Lebanon, Englewood, Yellow Springs, Beavercreek, Miamisburg, Waynesville, and Springfield, Ohio.
Pool Design
We also offer complete outdoor living space design that can incorporate the swimming pool, pool deck and landscaping all together. We work with our landscape architect and partner pool contractor to put together the total design. We can then manage the entire project including the installation of the swimming pool, landscaping, pool deck, and pool house.
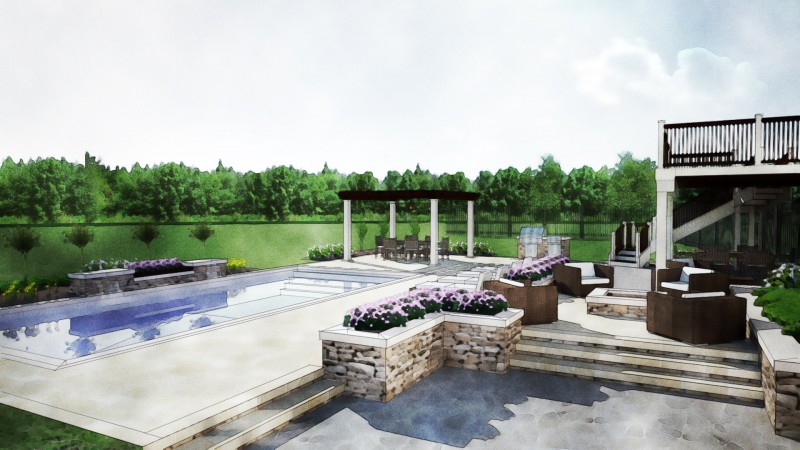
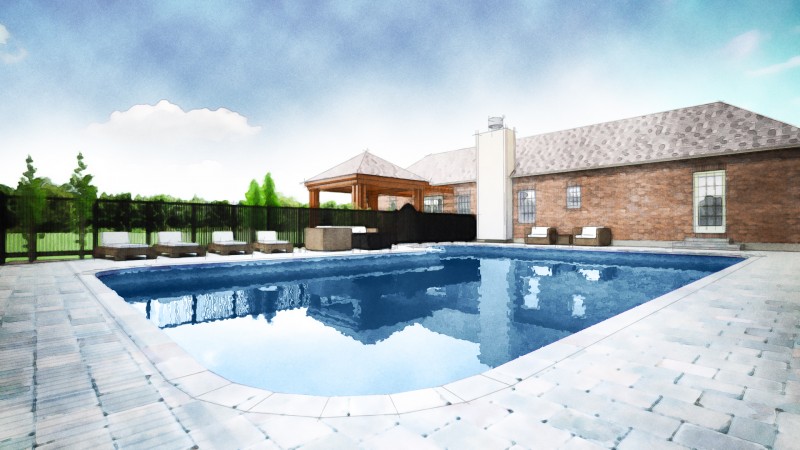
If you think that we would be a great fit for your project, please contact us.
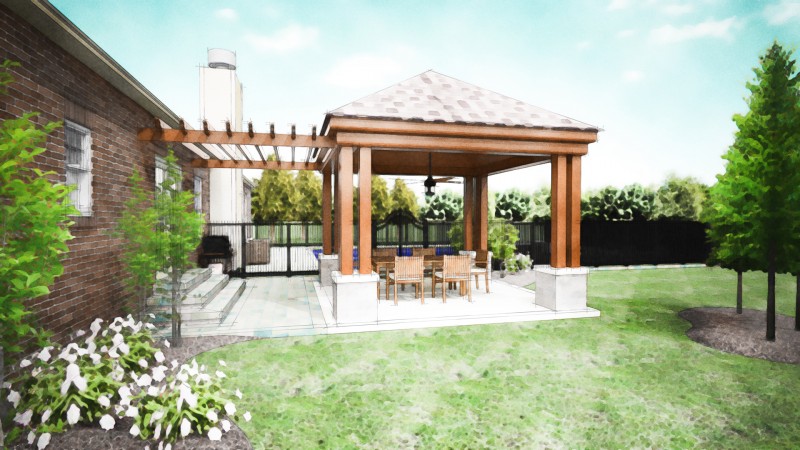
Having a strong reputation for creating beautiful backyard patio designs, I’m often approached and asked what are some of the most important design elements or features that should be considered when designing a patio. Of course there are all different types of patios from simple to complex. But, for the sake of putting something in writing without boring you, I’m going to talk about general ideas to consider no matter what scale design you’re planning.
Look for inspiration, not complete projects – I’m sure you can find 100 pictures in magazines that you love, but don’t get too caught up on just one. You have the ability to create your own unique, custom space – why copy something else. I know they way we think, if it works why fix it, and that is true to an extent. What works in one backyard might not work in another. So, instead of searching pictures for The One, browse with the intent of finding individual elements you like from each picture/design you’re attracted to. This way when we meet, you can say that you love the seating wall from this picture, the steps from this one, and the pavers from this one -etc. A good designer can take those recommendations and build an entire profile for you. A profile from which he or she will relate to when designing your entire space.
If you show me a picture and say, ‘I want this exact patio’, don’t be too surprised if my design is a replica. And that’s ok, if it’s truly what you want.
Before you think shape, consider layout – The shape of a patio can sometimes be the difference between a good looking patio and the opposite. But, before you get too caught up in the shape, its important to think about layout. What is layout? Its the placement of spaces in your design. For instance where you will dine or where you will lounge. I like to walk a client through a scenario. This scenario is often the reason they’re considering the patio in the first place. An example might be entertaining a large group or simply grilling and dinning outside. By taking the scenario step-by-step, we’re able to get a 10,000 ft view and determine the best layout.
Don’t get too caught up in the materials used, at least not yet – Don’t think you need to know exactly what color and style of paver you want before you start the design process. Relate this to building a house. You probably wouldn’t discuss what tile you wanted in your kitchen on your first meeting with the builder. Instead you would discuss things like how many bedrooms, what style of homes appeal to you, approx square footage, location, etc. The same applies to a patio. I have an entire process I take each of my clients through to maximize each area of the design and finished project. A successful project, one that you won’t grow out of and that won’t go out of your style, will need to be well planned and thought out.
I believe in design perfectionism – an idea that good design is often found in the smallest of details, and balance can rest on the shoulders of just a few elements. It is with this mindset that I approach every project, striving to help each of my clients achieve their goals.
If you would like to meet with me to design your project, I’m ready.
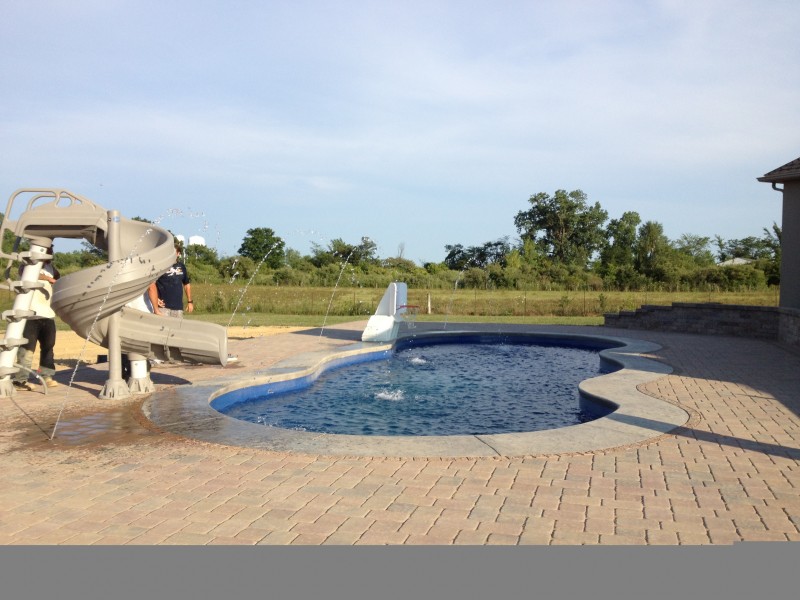
We installed Unilock pavers around this fiberglass pool with a decorative concrete pool coping. This specific paver style is the Unilock Camelot and the color is Coffee Creek. We installed a Unilock Uni-Granite Rose accent border around the perimeter including around the pool. This project is located in Columbus, Ohio (London, OH).


